A lithophane (French: lithophanie) is an etched or molded artwork in very thin translucent porcelain that can only be seen clearly when back lit with a light source.
That’s how Wikipedia defines a lithophane.
If we put a light in the back of a translucent sheet, depending on the thickness of the sheet it will appear lighter (when thin) or darker (when thick).
Getting a picture and making some calculations it could be possible to create a 3D printed object of different thickness at the points where we want to make the light darker or lighter to reproduce the original picture.
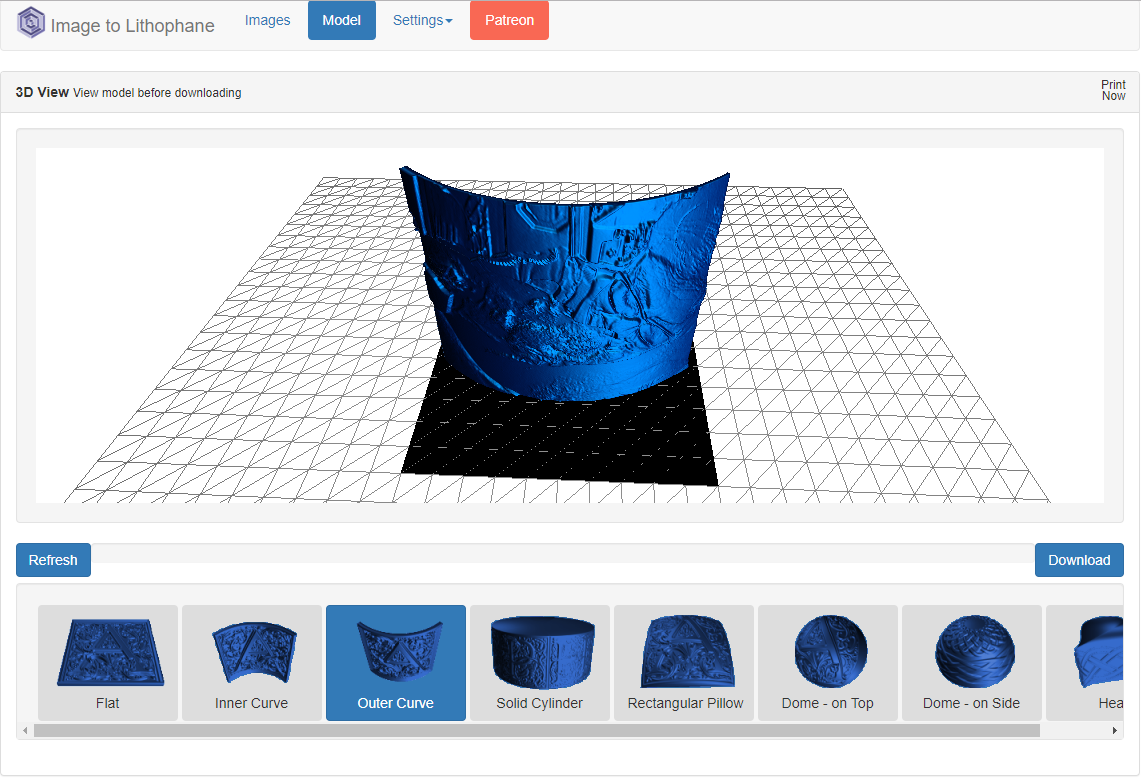
That’s what Image to lithophane does. By uploading a picture it makes all the work for us and let us download a .stl file to print the figure.
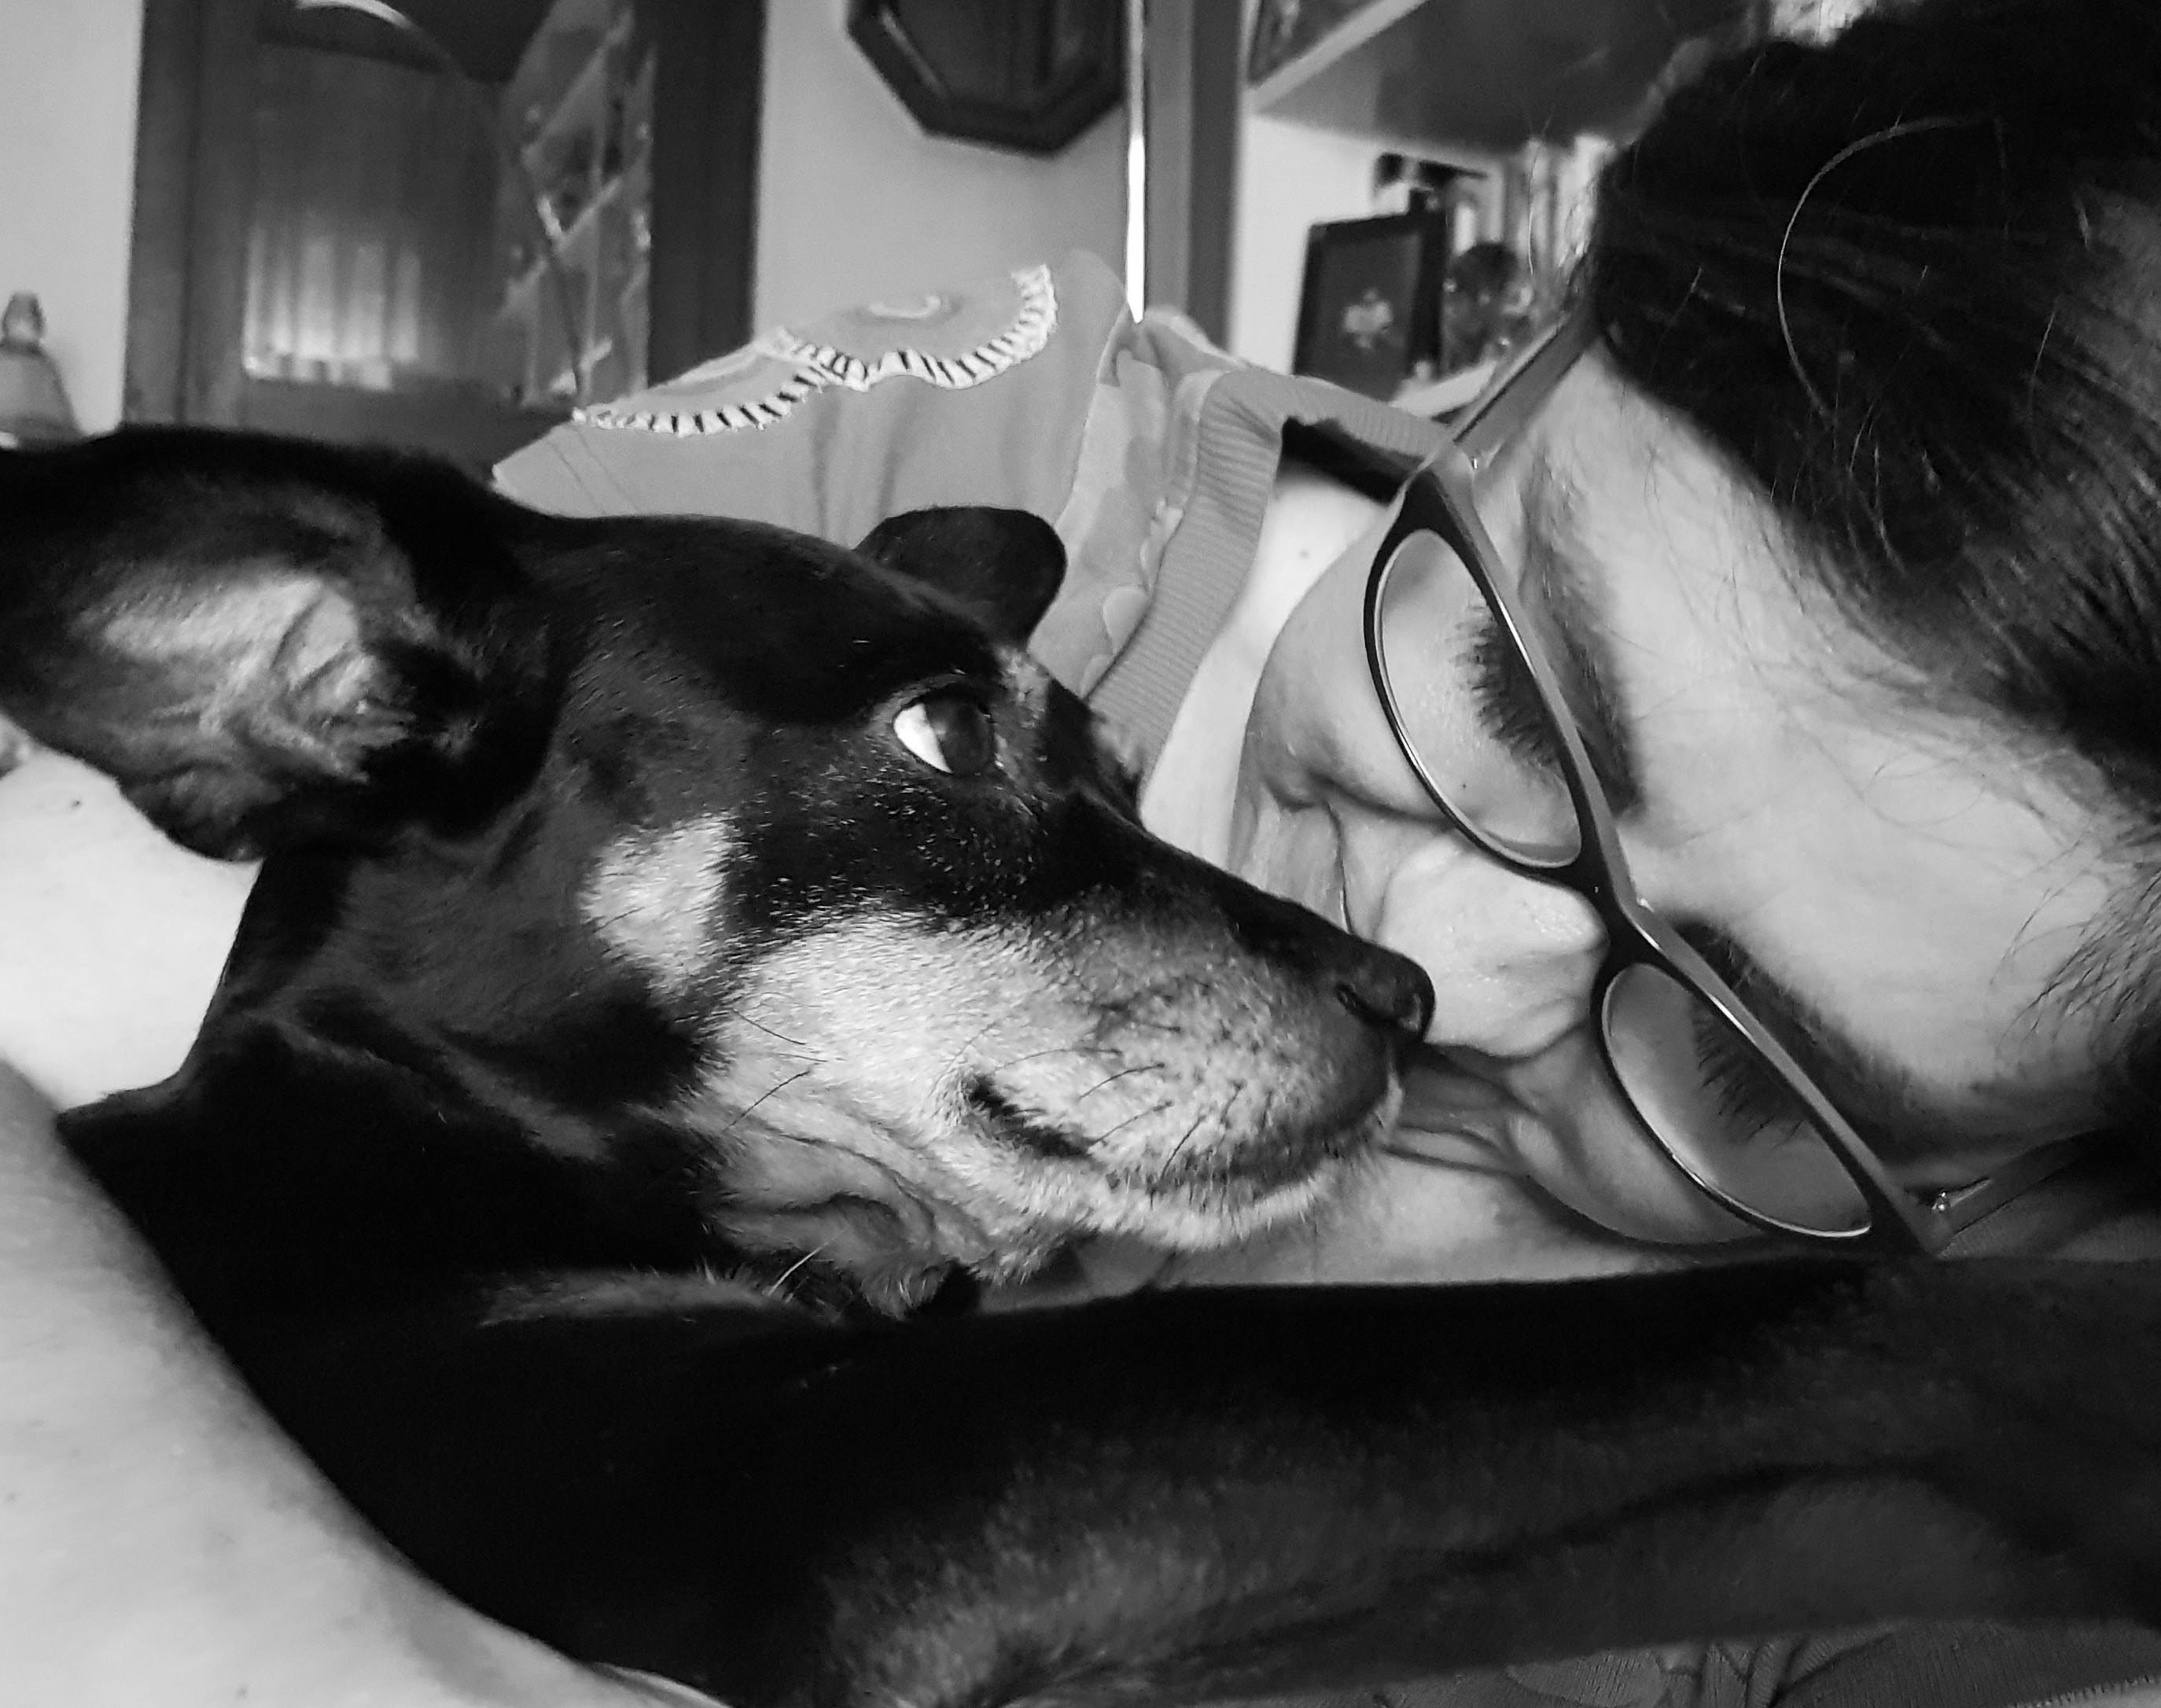
As this has been the first time I’ve tested it, I’ve first converted the picture to Black & White so I can manually adjust brightness and contrast and then uploaded the .jpg to the web.
The web is plenty of options and parameters, but it is very intuitive and it is easy to choose the model we want to create from our picture. Take care of the option Settings / Image settings / Positive – Negative. If your picture is not inverted use Positive option.
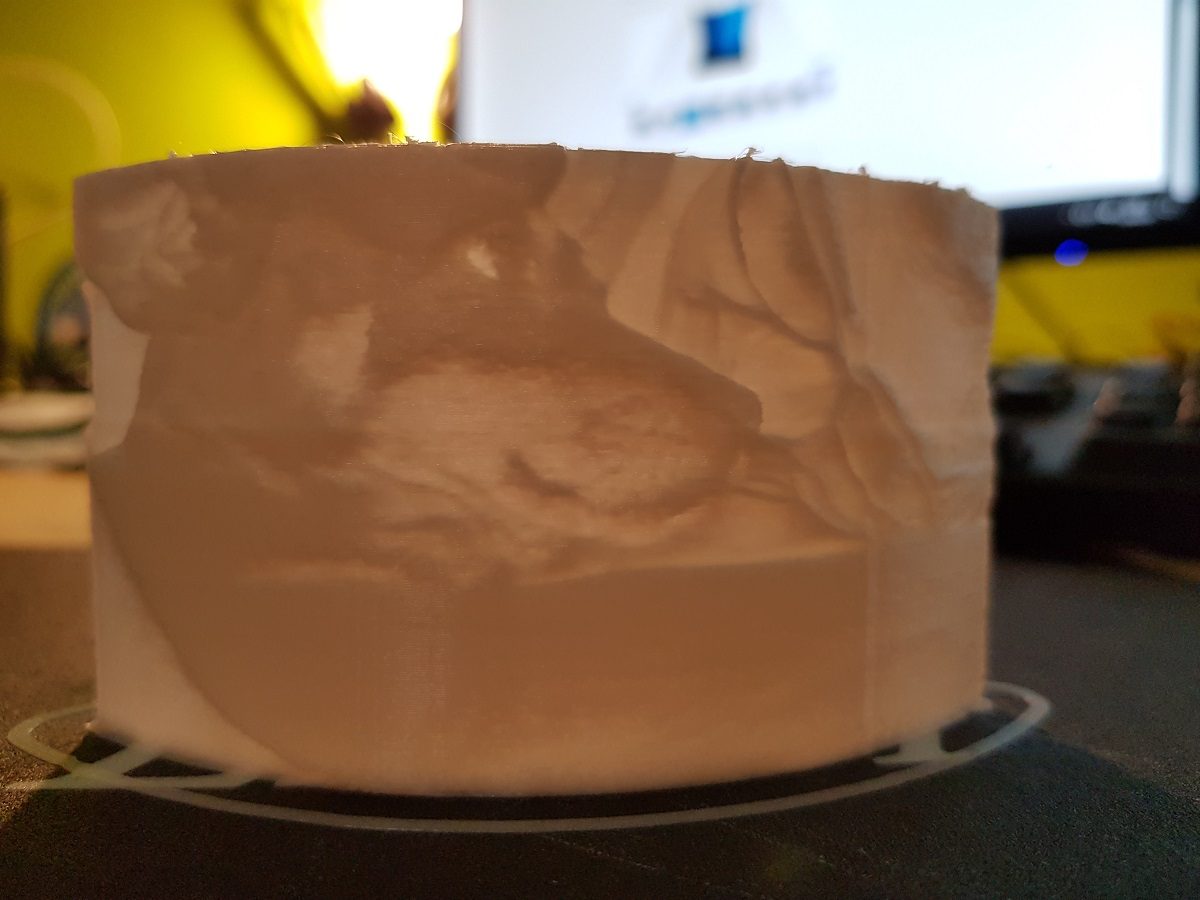
After downloading the .stl file, I prepared it with Cura taking care of filling (100% fill) and of course using white filament.
Though the figure is not very large (about 10cm width) it takes a long time to be finished (right now 17% and spent 30 minutes).
Printing… Waiting… Printing… and two and a half hours later… disaster!
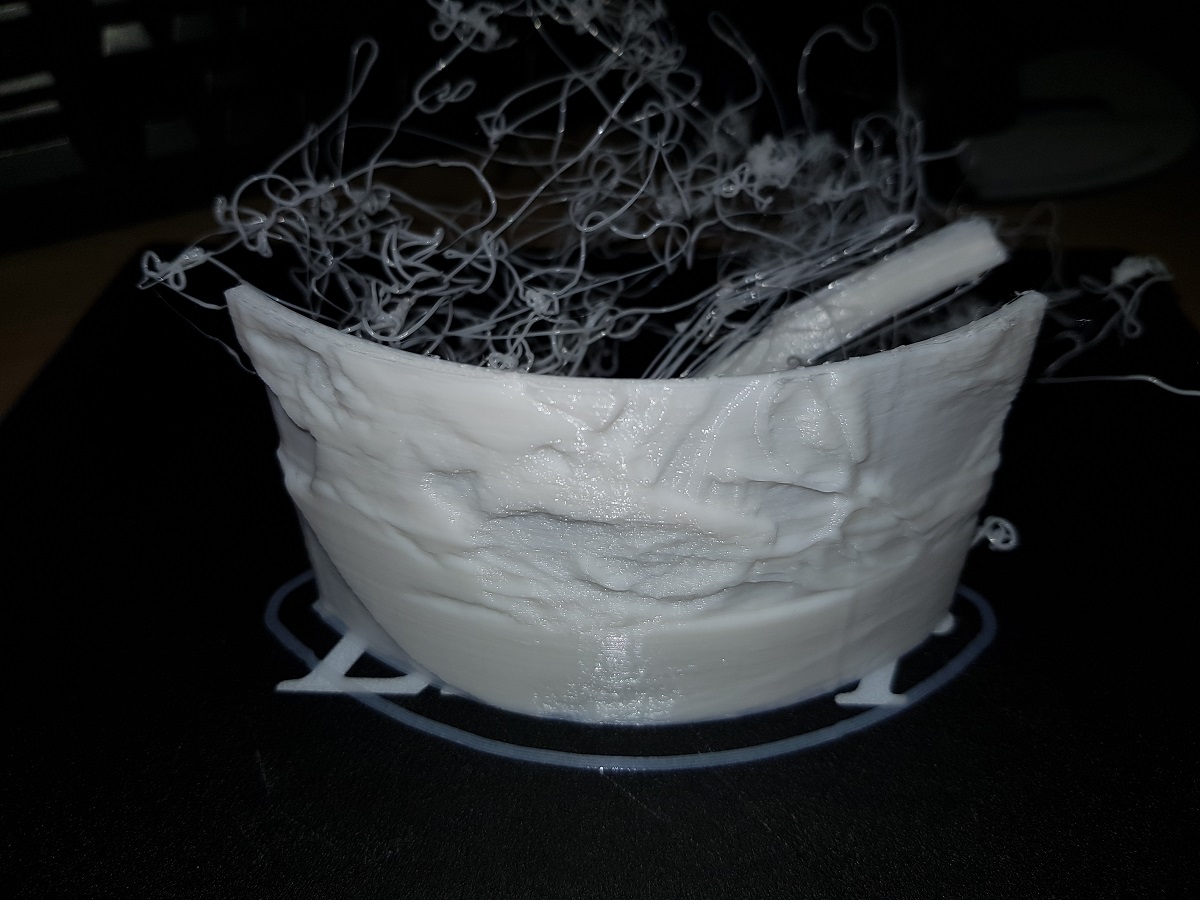

I like the result so I will have to try again.