Category: Curiosities
The dream of the pangolin 2024

The dream of the pangolin

Google Earth Studio: a filming drone in your hands
I can’t stop amazing about what Google can do with data. If you like switching to terrain view in Google Maps to look to the actual appearance of places, then you have to visit Google Earth Studio
A short promotional video is shown at the home page and the first time I saw it I thought: This can’t be real. I immediately pressed the “Try Earth Studio” button and… and nothing: you need to register and explain your reasons to try the product. I did it, but honestly I thought I would never receive their approval.
I was entirely wrong. Today I received a link to try the product, and I have to say it is amazing.
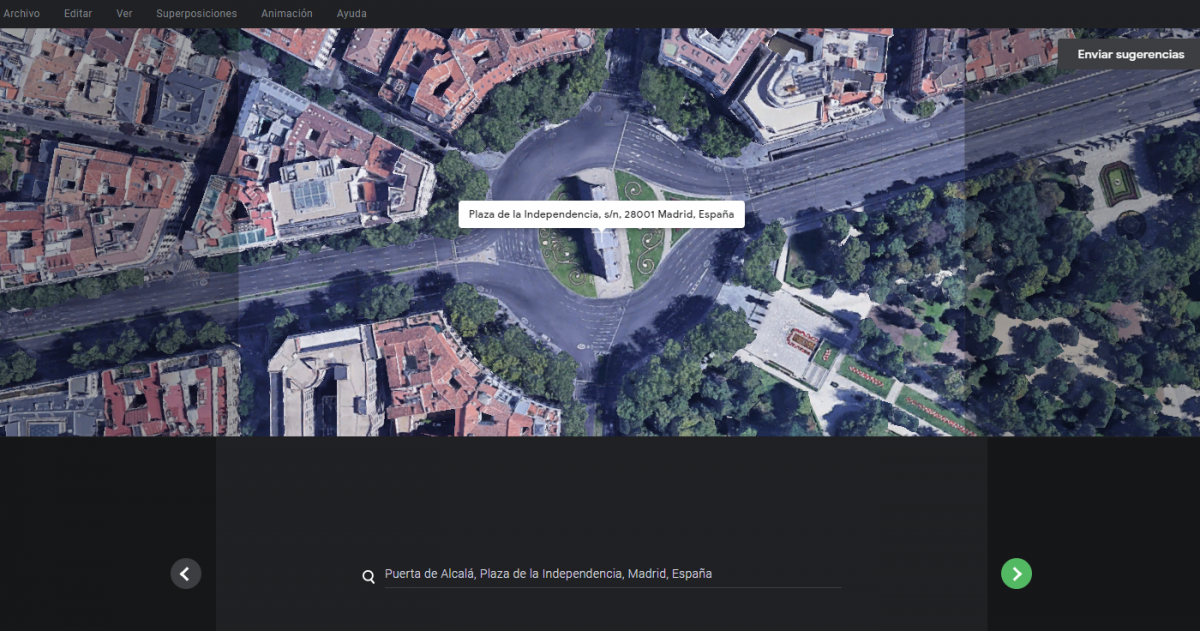
It was a matter of minutes to make a video showing “La Puerta de Alcalá” in Madrid (where I live) from the air like being filmed by a camera drone.
The video is very simple, but what I needed to produce it was even simpler.
The only thing I didn’t like was that the platform doesn’t produce a video ready to be downloaded, but all the video frames (jpeg format) compressed in a zip file and you have to compose the video with them.
Well, if you use default options (30 fps) and you want to produce an H264 video all you have to do is:
- Unzip the file containing the frames
- Access the footage folder
- Execute ffmpeg specifying these options
ffmpeg -i "videoname_%03d.jpeg" -c:v libx264 -vf fps=30 -pix_fmt yuv420p out.mp4
Of course, you’ll have to replace videoname with the prefix name of your jpeg files.
Useful links for Linkedin

Xbox 360 Kinect & Windows 10

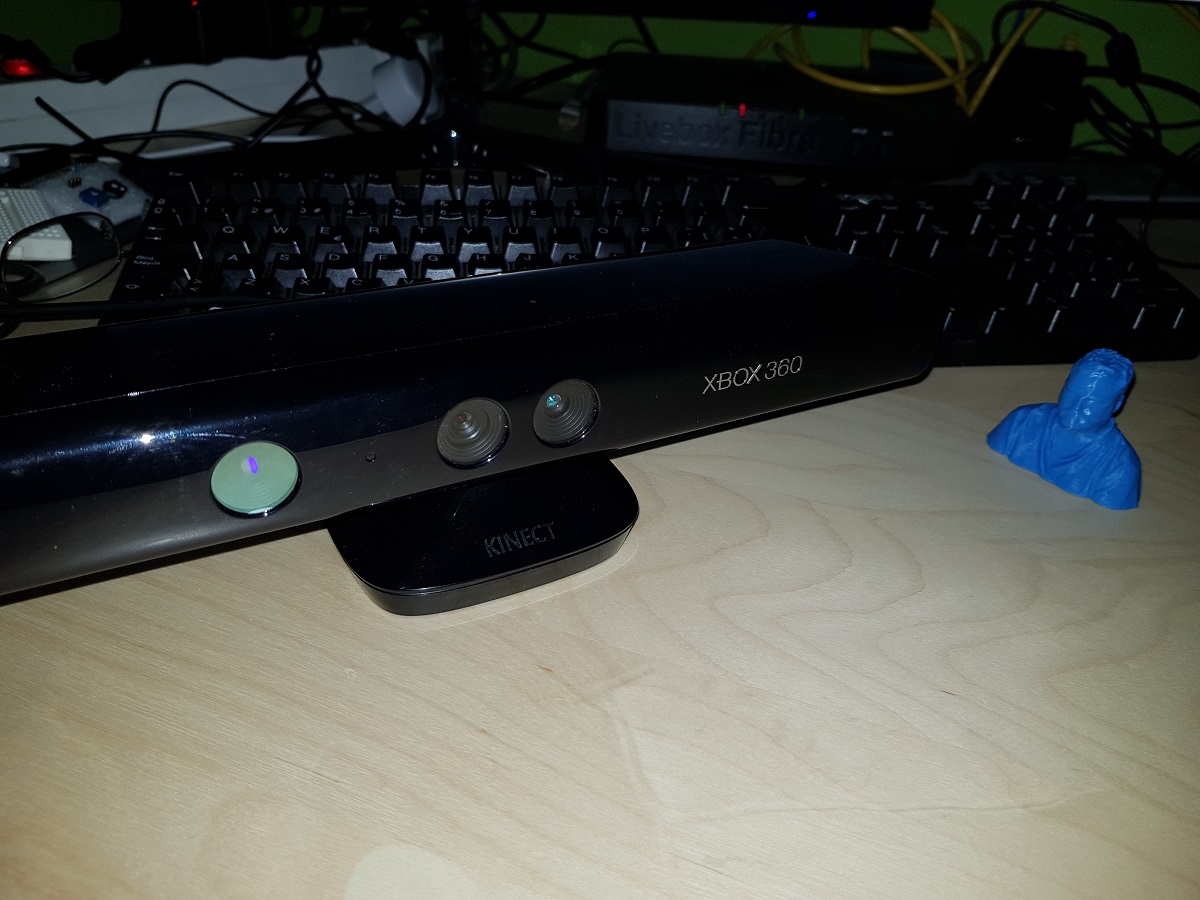
Buying a second-hand Kinect is a cheap option to get a 3D scanning capable device. Though it is not designed specifically for that purpose it can, using the right application, create a 3D model of an object, a room or a person.
I’ve tried several times to install the XBOX 360 Kinect to my Windows PC with no success, but finally, I’ve made it work.
There is a Windows version of Kinect. It costs about 155€ and I guess it is easier to install on a PC, but I had no intention to expend that money while there are second-hand units for about 20€. A friend of mine bought one for 6€!
What do you need to connect the Xbox device to Windows? You need an adapter that you can order to Amazon and it costs only 12€.
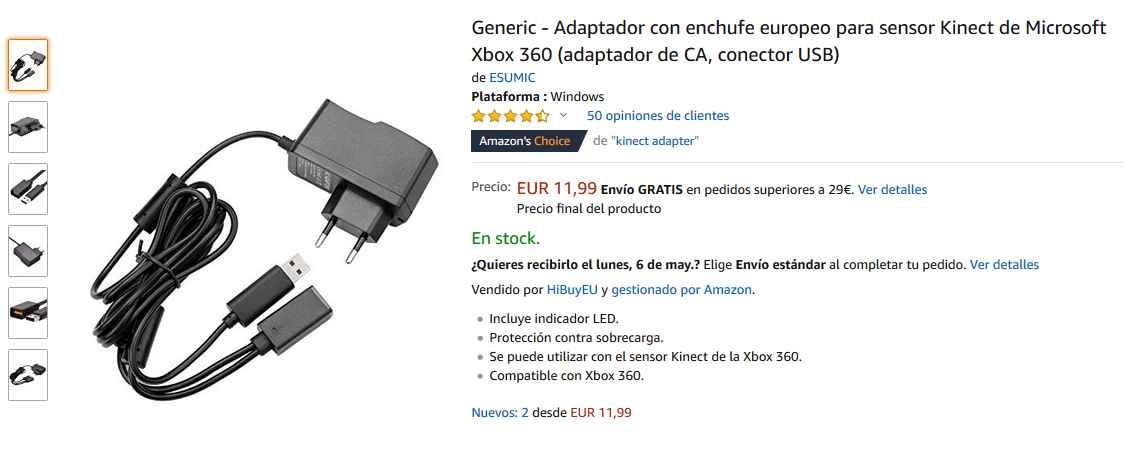
The converter just feeds with some extra current to our Xbox Kinect and also adapts the Xbox plug to a standard USB 3.0.
There are no more hardware requirements. All you need is to install the software to make it work, and at that point is where I got in troubles.
If you read the available tutorials on the web, the first step is installing Kinect for Windows SDK and after that connecting your Kinect to any USB 3.0 port. The device should be autodetected and de Kinect devices (camera, audio, and motor) will be shown on the Windows Device Manager.
Instead of that, what I got after installing was this:
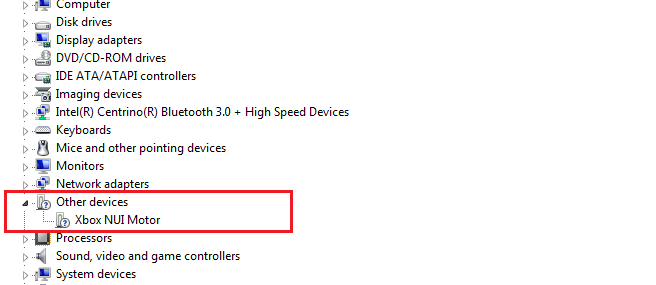
If this is also your case and you installed the latest version of Kinect for Windows SDK (version 2.0), try the following:
- Unplug the Kinect from the USB 3.0 port
- Remove the version 2.0 software (It is advisable though I didn’t remove it from my computer)
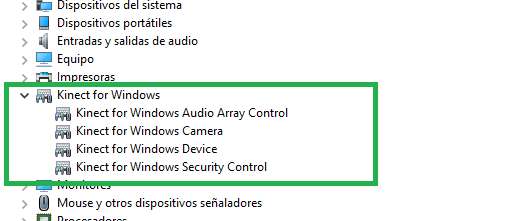
- Install the previous version of Kinect for Windows SDK (version 1.8):
- You can find it at the Microsoft Site
- or you can download it from here if it is not available there.
- Plug the Kinect again in
- The correct drivers will be now installed
What todo do after that?
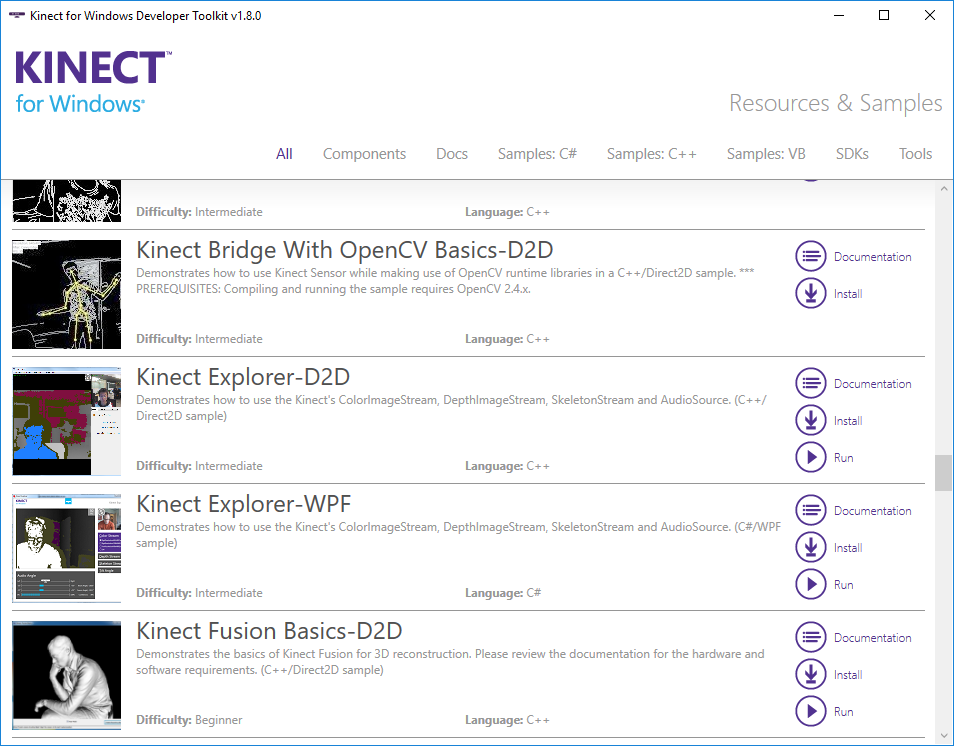
- Try installing Kinect for Windows SDK Toolkit. It contains a lot of utilities and POCs to show the capabilities of Kinect technology for Windows.
- Scan an object or even yourself to make a 3D printing
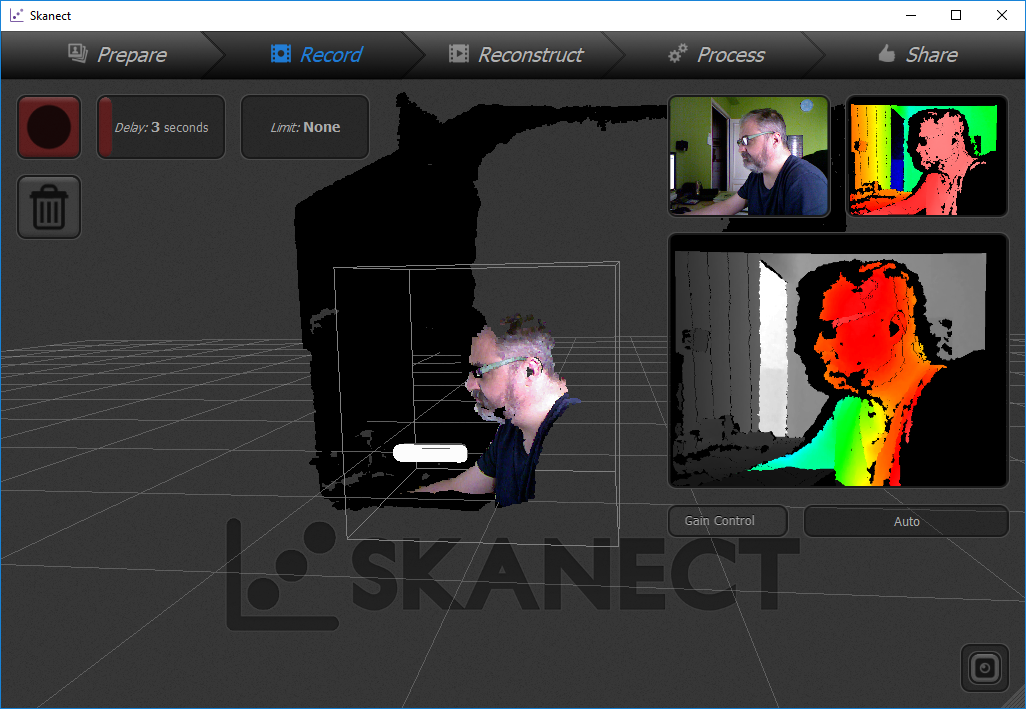
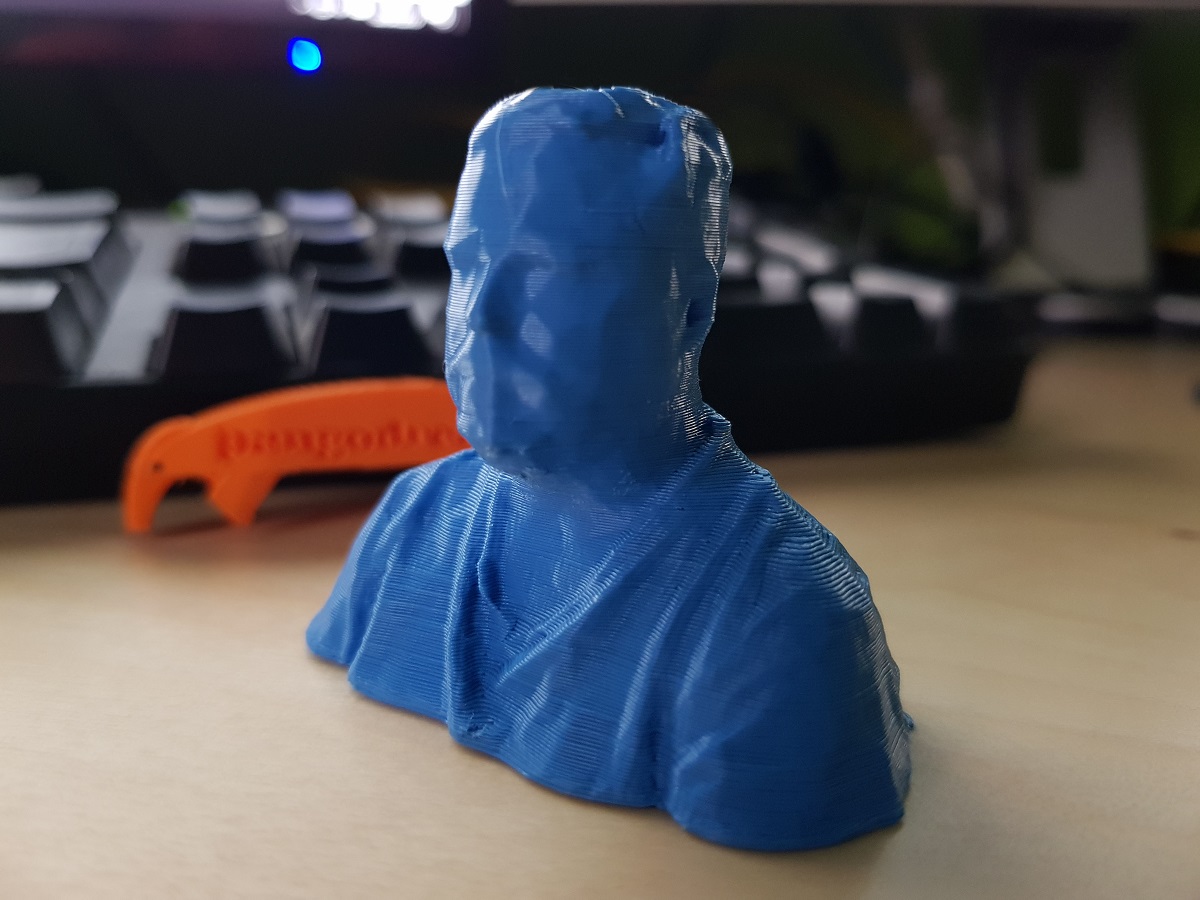
- Skanect is a very good choice, but the free version only allows exporting a limited number of polygons. Nonetheless, the result is at least curious and you can recognize yourself though you print it using Blue Sky PLA)

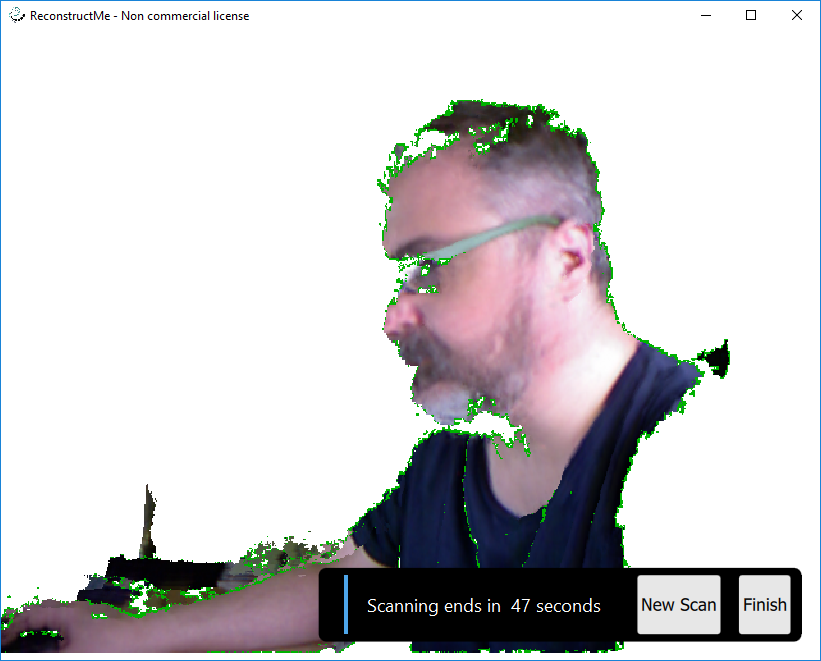
Skanect Scanner - Reconstructme is also a good option, though is less straight and I think it is more focussed on making a virtual color model of the object.
Reconstructme while Scanning
- Skanect is a very good choice, but the free version only allows exporting a limited number of polygons. Nonetheless, the result is at least curious and you can recognize yourself though you print it using Blue Sky PLA)
Both Recostructme and Skannect will allow you to export a .obj or .stl file and then you can post-process it with the application of your election.
How to create a lithophane
A lithophane (French: lithophanie) is an etched or molded artwork in very thin translucent porcelain that can only be seen clearly when back lit with a light source.
That’s how Wikipedia defines a lithophane.
If we put a light in the back of a translucent sheet, depending on the thickness of the sheet it will appear lighter (when thin) or darker (when thick).
Getting a picture and making some calculations it could be possible to create a 3D printed object of different thickness at the points where we want to make the light darker or lighter to reproduce the original picture.
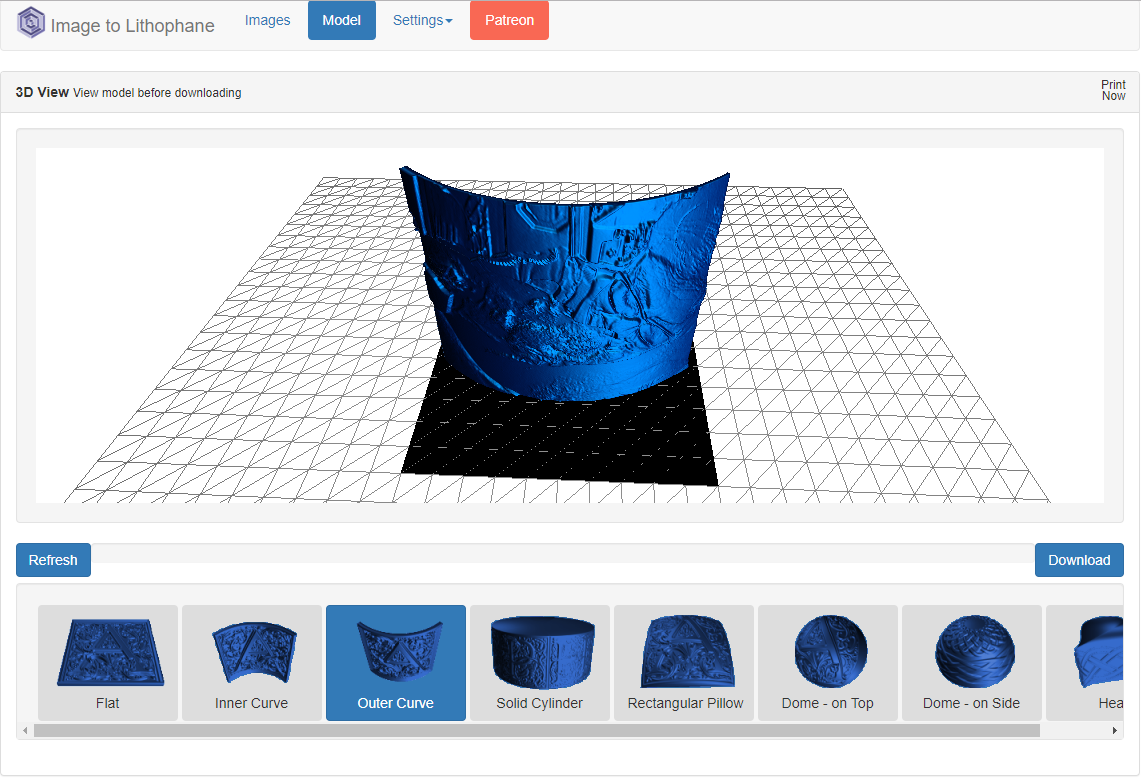
That’s what Image to lithophane does. By uploading a picture it makes all the work for us and let us download a .stl file to print the figure.
As this has been the first time I’ve tested it, I’ve first converted the picture to Black & White so I can manually adjust brightness and contrast and then uploaded the .jpg to the web.

The web is plenty of options and parameters, but it is very intuitive and it is easy to choose the model we want to create from our picture. Take care of the option Settings / Image settings / Positive – Negative. If your picture is not inverted use Positive option.
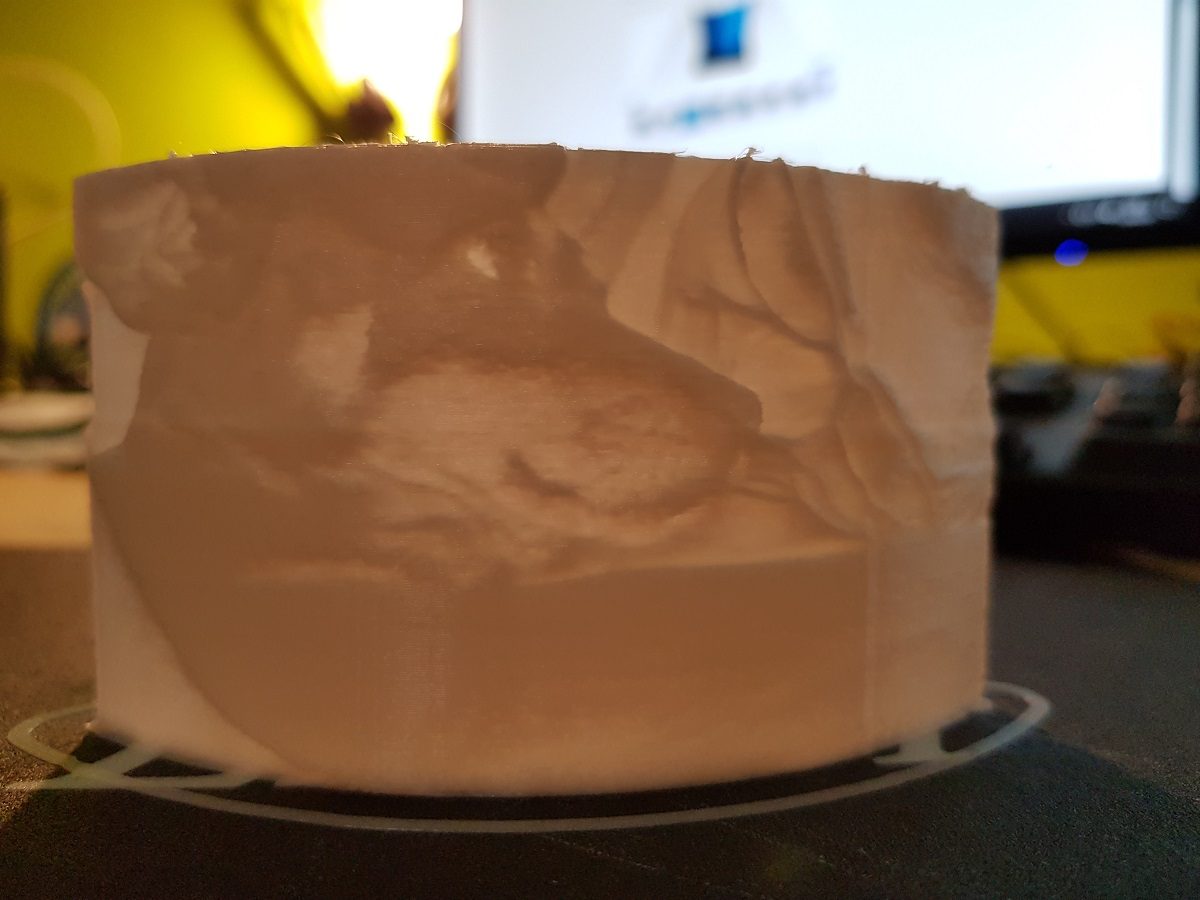
After downloading the .stl file, I prepared it with Cura taking care of filling (100% fill) and of course using white filament.
Though the figure is not very large (about 10cm width) it takes a long time to be finished (right now 17% and spent 30 minutes).
Printing… Waiting… Printing… and two and a half hours later… disaster!
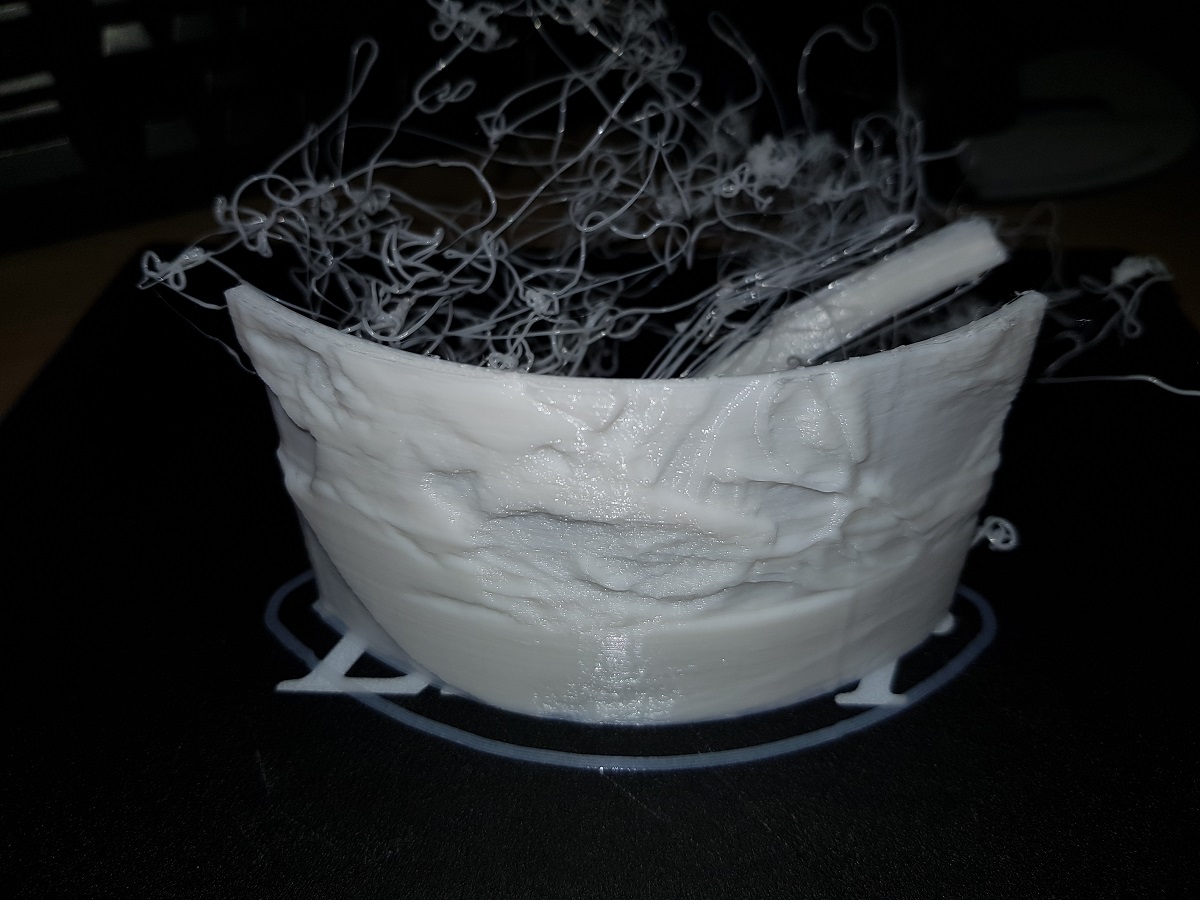

I like the result so I will have to try again.
When fonts meant money
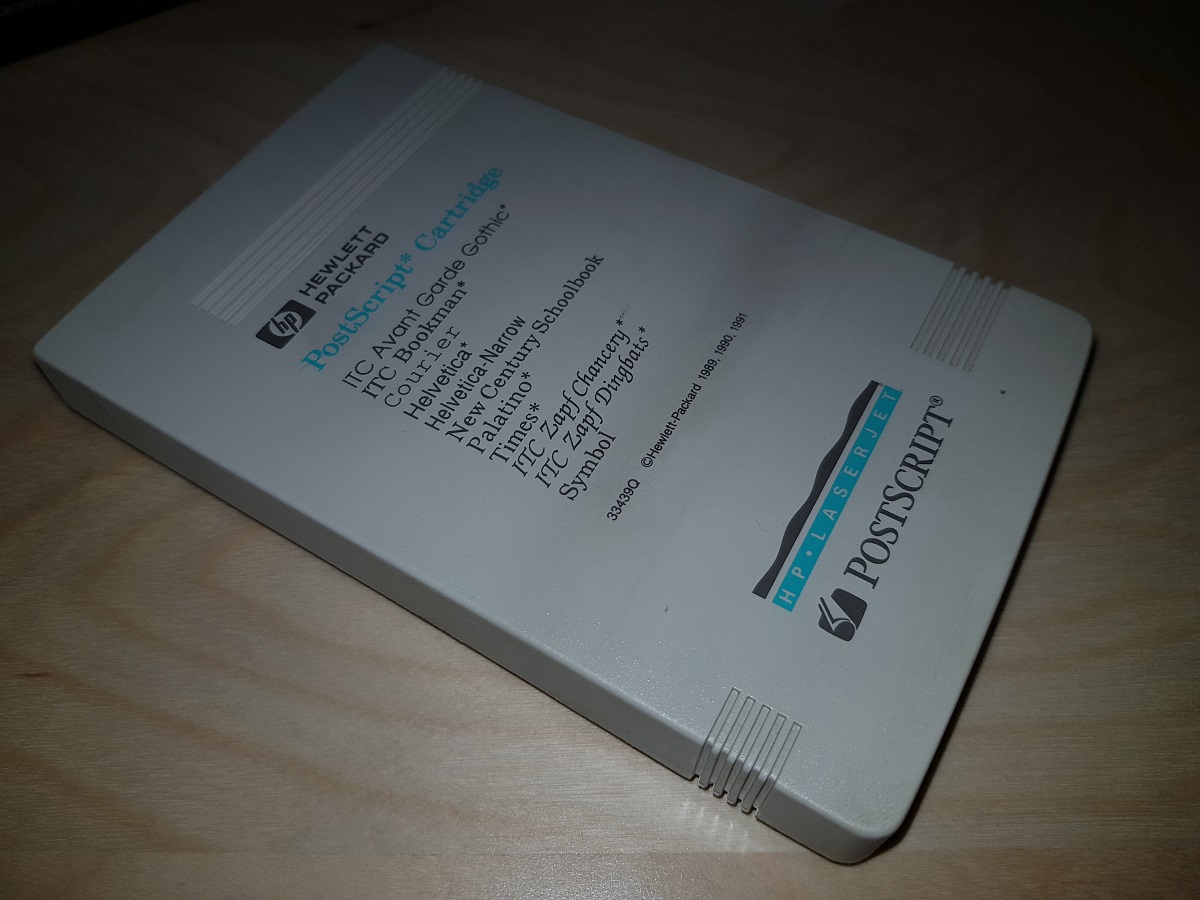
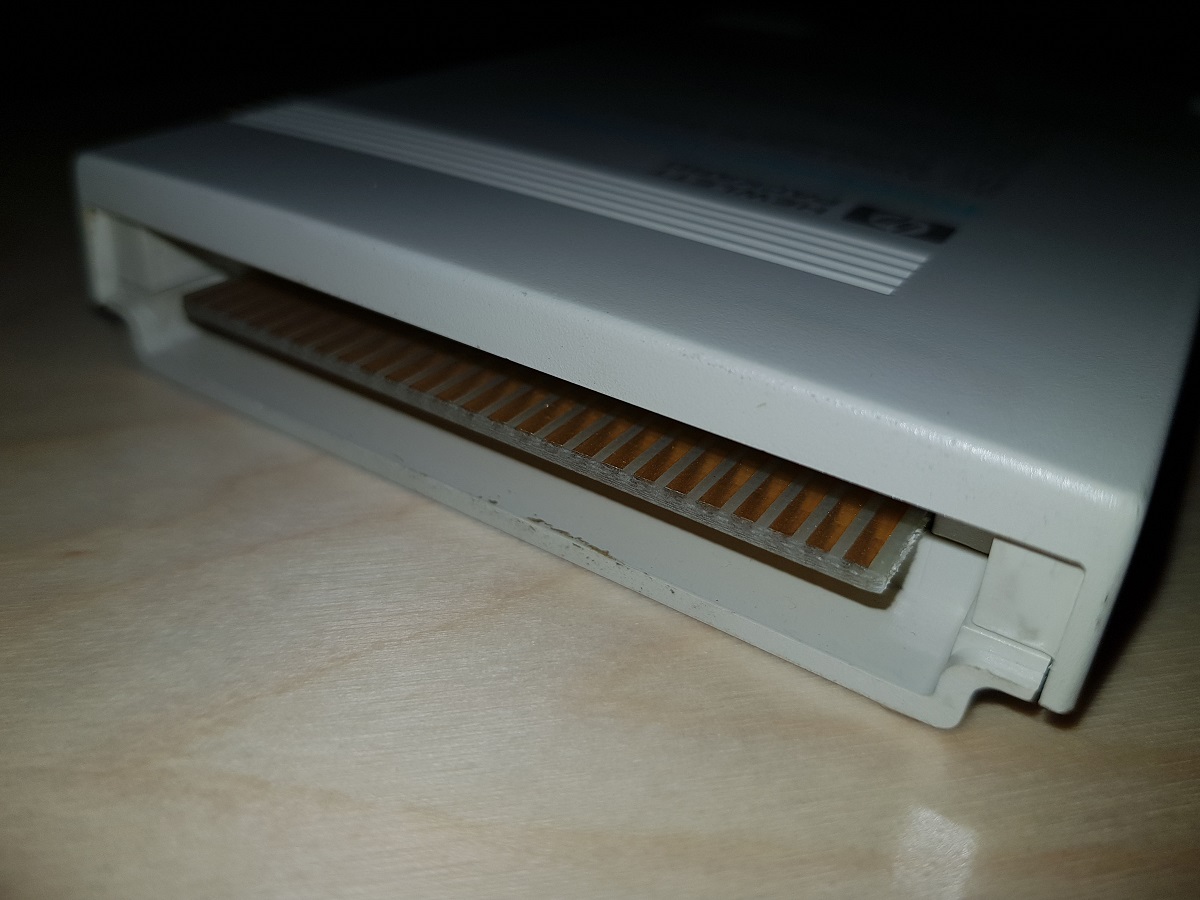
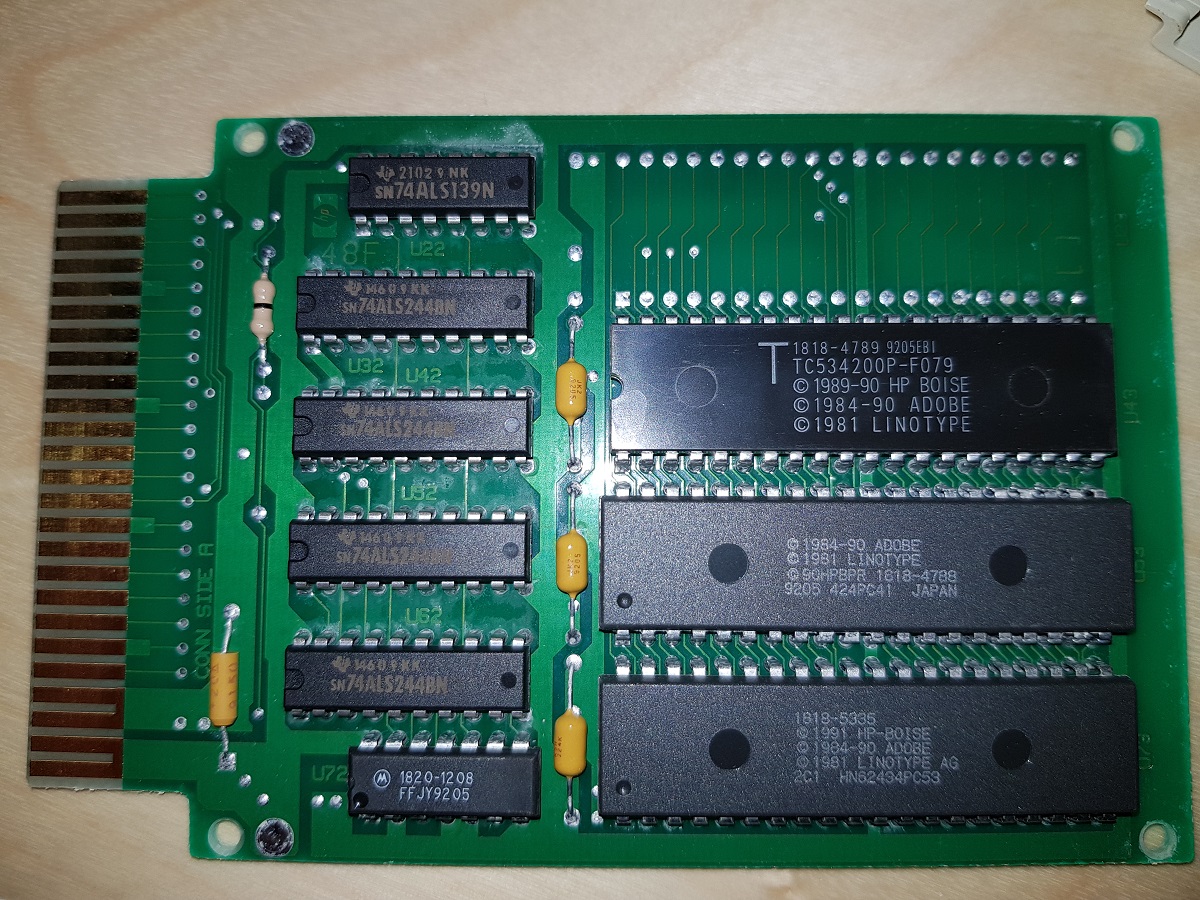
Found this Postscript Fonts cartridge in a drawer at home.
Year: 1991
Price: about US $695