Author: Alberto Iriberri Andrés
The dream of the pangolin 2025

The dream of the pangolin 2024

Laravel 11 Reverb: CURL Error 60 “unable to get local issuer certificate”
Just add a new line in your config/reverb.php to specify the location of your intermediate certificate:
'options' => [
     'tls' => [
         'local_cert' => env('SSL_CERTIFICATE_CER'),
         'local_pk' => env('SSL_CERTIFICATE_KEY'),
         'local_ca' => env('SSL_CERTIFICATE_CA'),
         'verify_peer' => false,
     ],
 ],
The key is the line ‘local_ca’ => env(‘SSL_CERTIFICATE_CA’)
Base de Datos Códigos Postales España Julio 2023
Formato: Zip con export MySql
Estructura tablas (Vías, Pseudovías, Tramos y Unidades Poblacionales) descrita en INE – Productos y Servicios – Callejero Censo Electoral
The dream of the pangolin

Talend Open Studio + JRE Error
I’ve just installed TOS 8 on my Windows 10 machine, and after trying to execute it an error appears (I wonder if some day a program running Java not bundled will work at first after being installed):
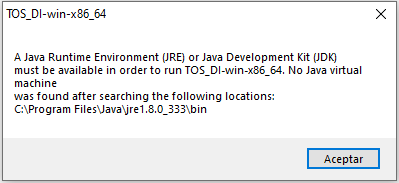
After installing the latest JDK version, it always throughs the same error.
No matter the times you install/uninstall JDKs, change environment variables, try to launch an inexistent Java Control Panel: always the same error.
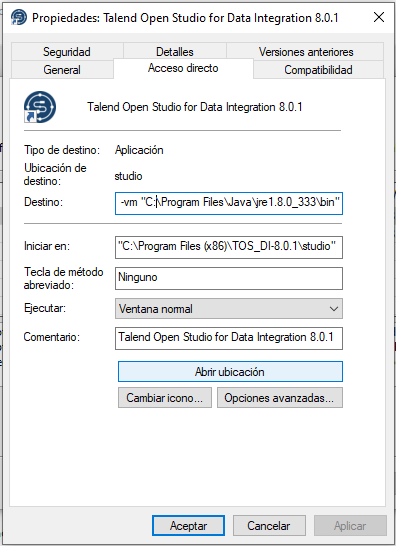
The solution
- Go to Start Button in Windows
- Locate the TOS Menu
- Open TOS Menu and right-click on icon launcher
- Click on More
- Click on Open File Location
- Right-Click the Link File and click on Properties
- Change the Destination folder to the one containing your Java binaries
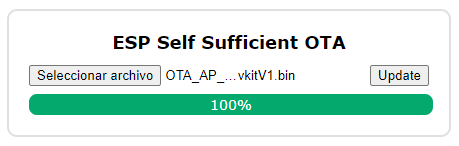
ESP32 OTA in AP mode: ESP2SOTA
If you are trying to implement OTA functionality for your ESP32 / ESP8266 with AP Wifi Mode enabled, try this simple Arduino Library:
Library link: Github Repository
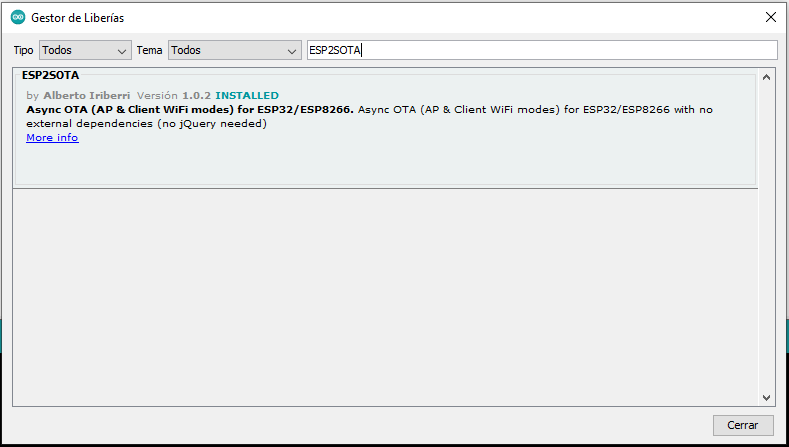
You can also install the library directly from Arduino IDE. Just click on Library Manager and search for ESP2SOTA
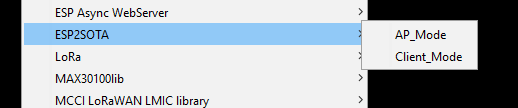
By installing the library, two code samples will be available, one for AP Mode and the other one for Client Mode
Sample sketch:
#include <WiFi.h>
#include <WiFiAP.h>
#include <WebServer.h>
/* INCLUDE ESP2SOTA LIBRARY */
#include <ESP2SOTA.h>

const char* ssid = "ESP2SOTA";
const char* password = "123456789abc";

WebServer server(80);

void setup(void) {
  Serial.begin(115200);
  WiFi.mode(WIFI_AP);
  WiFi.softAP(ssid, password);
  delay(1000);
  IPAddress IP = IPAddress (10, 10, 10, 1);
  IPAddress NMask = IPAddress (255, 255, 255, 0);
  WiFi.softAPConfig(IP, IP, NMask);
  IPAddress myIP = WiFi.softAPIP();
  Serial.print("AP IP address: ");
  Serial.println(myIP);

  /* SETUP YOR WEB OWN ENTRY POINTS */
  server.on("/myurl", HTTP_GET, []() {
    server.sendHeader("Connection", "close");
    server.send(200, "text/plain", "Hello there!");
  });

  /* INITIALIZE ESP2SOTA LIBRARY */
  ESP2SOTA.begin(&server);
  server.begin();
}

void loop(void) {
  /* HANDLE UPDATE REQUESTS */
  server.handleClient();

  /* YOUR LOOP CODE HERE */


  delay(5);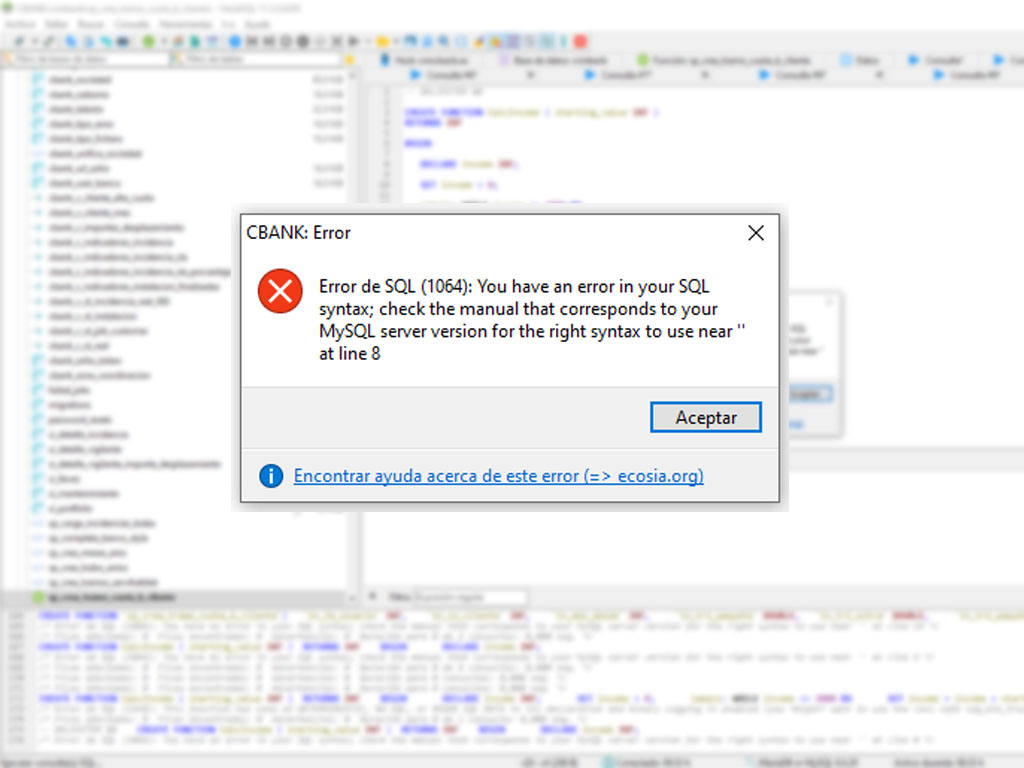
}HeidiSQL CREATE FUNCTION errors
No matter how simple you define your function, its creation will fail when using HeidiSQL interface.
CREATE FUNCTION `fn_my_function`(
    `parameter_a` INT
)
RETURNS INT
LANGUAGE SQL
DETERMINISTIC
CONTAINS SQL
SQL SECURITY DEFINER
COMMENT ''
BEGIN
   return 0;
END
After reviewing your code, you can’t find any syntax error. You try to fix it by removing the COMMENT ” line, but nothing seems to work.
The solution is quite simple:
- Tell the SQL engine a new DELIMITER:
- DELIMITER //
- After the END; line, add another one to restore the DELIMITER to ;
- DELIMITER ;
- That’s all
DELIMITER //

CREATE FUNCTION `fn_my_function`(
    `parameter_a` INT
)
RETURNS INT
LANGUAGE SQL
DETERMINISTIC
CONTAINS SQL
SQL SECURITY DEFINER
COMMENT ''
BEGIN
   return 0;
END

DELIMITER ;
Please note that there is a space separator between DELIMITER and ;