If you just want to start a Qlik Sense task from the command line using curl you shoud visit this other post
How to invoke a qlik sense task from command line
But if you need to check status after execution, get details of the task or any other entity of Qlik Sense (user, app, license, etc) then you have to use a library or package that performs all that kind of funcionality.
I wrote a simple npm package qlik-sense-qrs that can help you to write more complex scripts that will allow you to interact with Qlik Sense in a more efficient way.
The package is available at github and there you will find some basic documentation on how to install and use it.
Basically, all you will need is adding the package to your project
npm install qlik-sense-qrs --save Once the package and its dependencies are installed you are ready to use it.
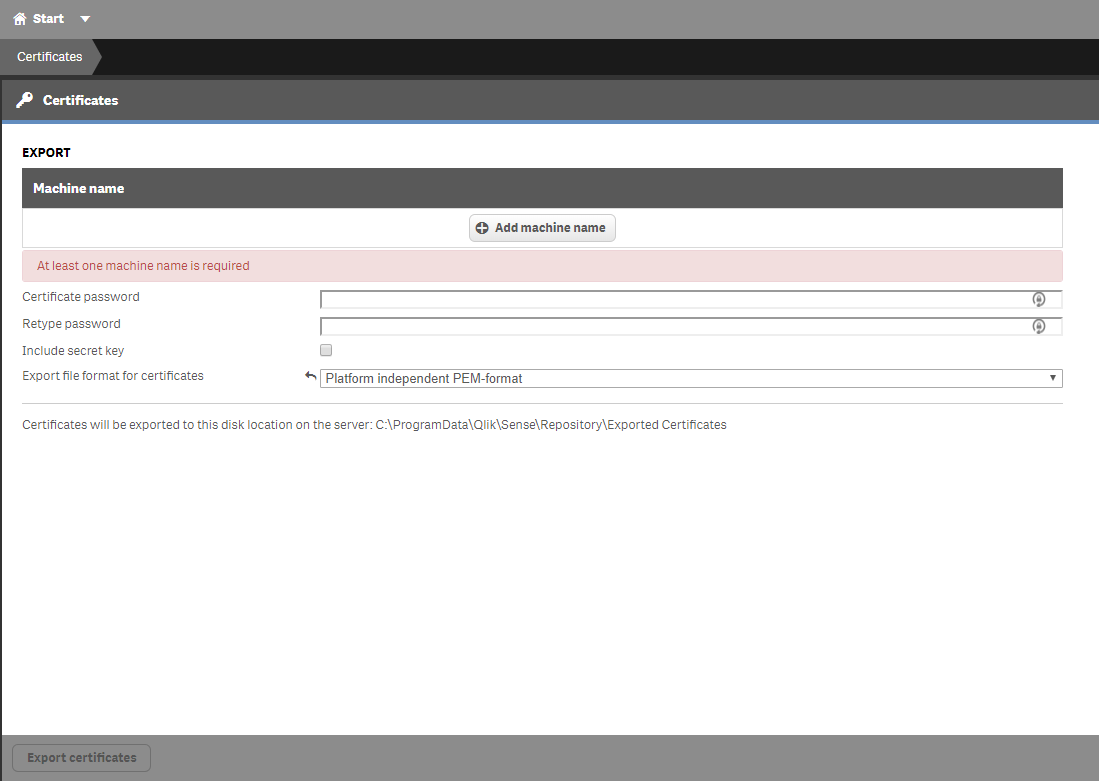
You will need a Qlik Server certificate to authenticate to the QRS API. There are some basic directions on how to get your server certificate in the post mentioned above.
Put both files containing the certificate and the key in a secured folder to make sure only your application has access to them.
Initialization
Now you are ready to import and configure the library to access your server from your Node.js application:
const qsqrs = require('qlik-sense-qrs');

//Set an array of options
let options = {
    host: 'https://yourserver:4242/qrs',
    //Path to your server certificates
    certFile: '../../qlik/client.pem',
    certKeyFile: '../../qlik/client_key.pem'
};
//Apply defined configuration
qsqrs.config.apply(options);
console.clear();
//Show the current configuration
console.log(qsqrs.config.getConfiguration());
That is the simplest way to set the connection options: you create an object containing three mandatory parameters and pass it to the apply method of the config object.
The next two lines are optional. They just show the applied configuration to you, like this:
{
  host: 'https://yourqliksenseserver:4242/qrs',
  certFile: '../../qlik/client.pem',
  certKeyFile: '../../qlik/client_key.pem',
  xrfKey: '43f0a598891d850d',
  certPassword: ''
}
You will notice there are two more parameters that you didn’t specify: xrfKey and certPassword. Let’s explain what they are.
- xrfKey: This is a 16 characters long string used to prevent CSFR attacks. The key will be sent in the query string and also as a header of the request. If you don’t specify a key, the library will create a random one for you, but if you want to use your own (can’t imagine a reason) all you have to do is adding it to the configuration object or invoking the specific method to set it:
qsqrs.config.setXrfKey('myownqliksense_k');
- certPassword: when exporting your server certificate you can specify a password to improve the security. At the moment of writing this post the library hasn’t implemented this option, but probably in the next version will be available.
You can set and get any of the configuration parameters by using their corresponding method in the config object (qsqrs.config):
- qsqrs.config.setHost(‘host url’)
- qsqrs.config.getHost()
- qsqrs.config.setCertFile(‘certificate file location’)
- qsqrs.config.getCertFile()
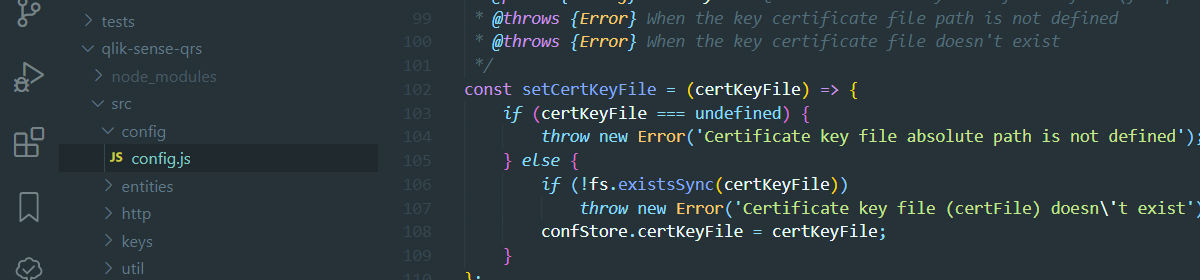
- qsqrs.config.setCertKeyFile(‘certificate key file location’)
- qsqrs.config.getCertKeyFile()
- qsqrs.config.setXrfKey(‘Your own key’)
- qsqrs.config.getXrfKey()
Accessing the entities of Qlik Sense
There are two different types of objects in the wrapper. All of them are implemented in the entities object.
- genericEntity: Most of the objects of QRS API have a get (list or read) endpoint and the structure of the subjacent request is the same for all of them. What the genericEntity does is receiving the name of the Qlik Sense entity as a parameter and perform the requested method. For instance, I don’t know what the odagrequest object is used for, but using the genericEntity object I can perform a call like the following and get some results:
let data = await qsqrs.entities.genericEntity.list('odagrequest');
You can check some more examples in the Github page or inside the test code.
There is an array inside generic-entity.js file that defines which objects you can invoke to:
const allowedEntities = [
    'about', 'analyticconnection', 'app', 'appavailability', 'appcomponent',
    'appcontentquota', 'appseedinfo', 'appstatus', 'binarydelete', 'binarydownload',
    'binarysyncruleevaluation', 'compositeevent', 'compositeeventoperational', 'compositeeventruleoperational',
    'contentlibrary', 'custom', 'custompropertydefinition', 'dataconnection',
    'engineservice', 'event', 'eventoperational', 'executionresult', 'executionsession',
    'extension', 'externalprogramtask', 'externalprogramtaskoperational', 'fileextension', 'fileextensionwhitelist',
    'filereference', 'health', 'license', 'licenseaccessusage', 'lock',
    'mimetype', 'odagenginegroup', 'odaglink', 'odaglinkusage', 'odagmodelgroup',
    'odagrequest', 'odagservice', 'printingservice', 'proxyservice', 'proxyservicecertificate',
    'reloadtask', 'reloadtaskoperational', 'repositoryservice', 'schedulerservice', 'schemaevent',
    'schemaeventoperational', 'selection', 'servernodeconfiguration', 'servernodeheartbeat', 'servernoderole',
    'servicecluster', 'servicestatus', 'sharedcontent', 'staticcontentreference', 'staticcontentreferencebase',
    'stream', 'syncsession', 'systeminfo', 'systemnotification', 'systemrule',
    'tag', 'task', 'taskoperational', 'tempcontent', 'user',
    'userdirectory', 'userdirectoryconnector', 'usersynctask', 'usersynctaskoperational', 'virtualproxyconfig',
];
- task: By now, this is the only object that implements a method different of a list or read one. It implements a start method, which is the one we are naming since the first line of this post.
Putting it all together
The example below shows how to search for a task based on its name. Then, retrieve its id to invoke the task and after that it waits for 5 seconds and shows the execution result.
//Initialization
const qsqrs = require('qlik-sense-qrs');
let options = {
    host: 'https://yourserver:4242/qrs',
    //Path to your server certificates
    certFile: '../../qlik/client.pem',
    certKeyFile: '../../qlik/client_key.pem'
};
qsqrs.config.apply(options);
//End of initialization

(async() => {
    try {
        let name = 'My task name';
        console.log('Retrieve task data by name');
        let data = await qsqrs.entities.task.list(`name eq '${name}'`);
        let id = data[0].id;
        console.log(`Task id is ${id}\nStart task specifying its id`);
        data = await qsqrs.entities.task.start(id);
        console.log('Task started. Wait for 5 seconds....');
        await qsqrs.util.wait(5000);
        console.log('Retrieve task data by id');
        data = await qsqrs.entities.task.list(`id eq ${id}`);
        console.log('Show execution / progress result');
        let execData = data[0].operational.lastExecutionResult;
        console.log(`\tStatus:\t${execData.status}\n\tStart:\t${execData.startTime}\n\tStop:\t${execData.stopTime}`);
    } catch (err) {
        console.log(err);
    }
})();