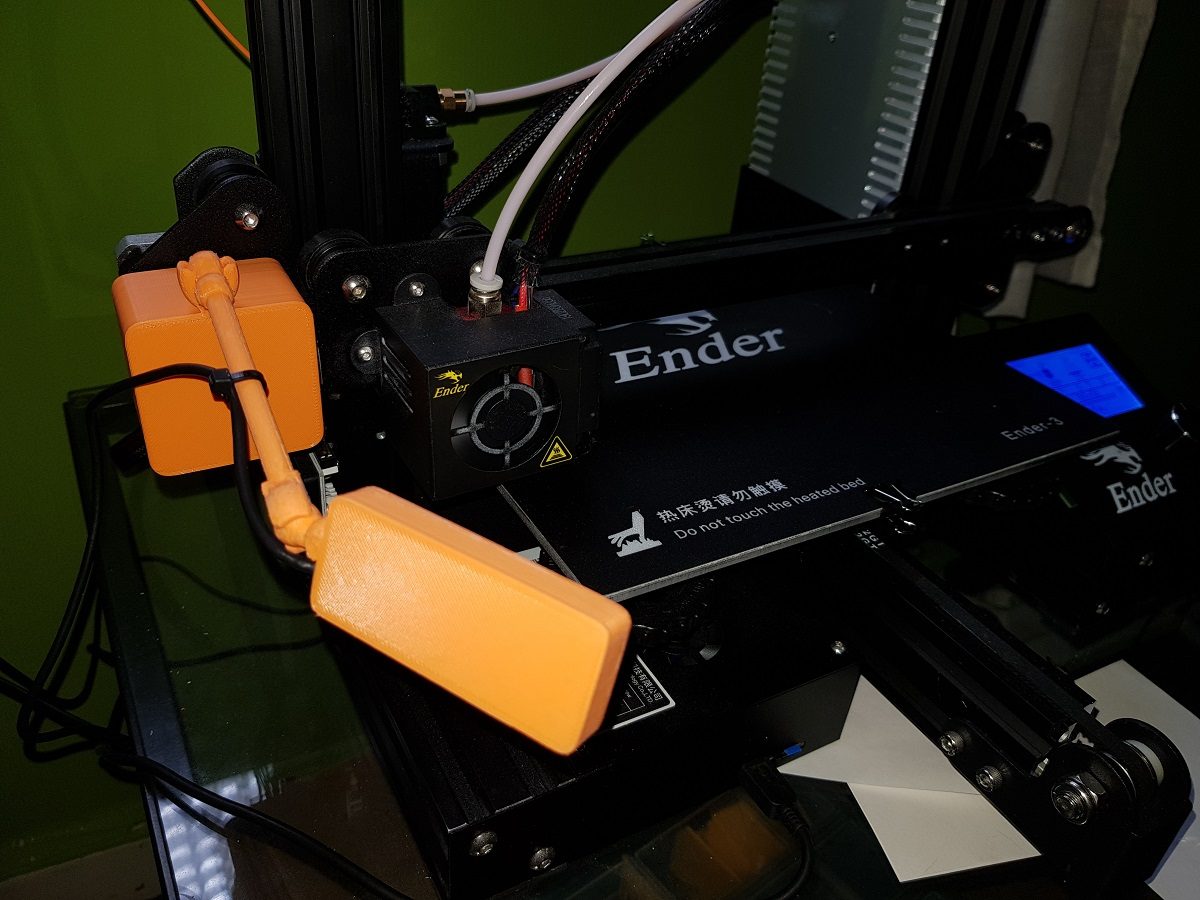
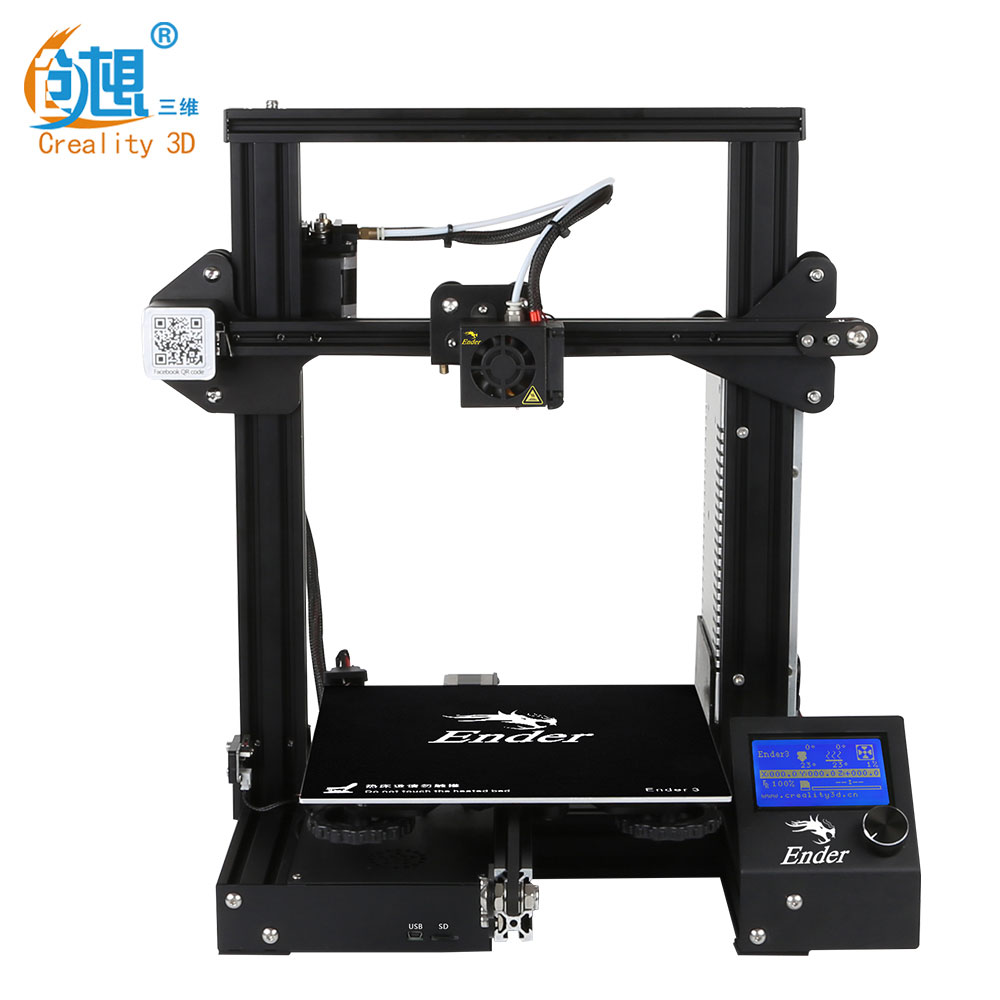
Two days ago I deployed an Octoprint system for my Ender 3. Octoprint is the leading application for remote controlling 3D printers. It needs to be deployed on a host connected to the 3D printer and takes control of everything, allowing you to interact with your printer remotely (web or app).
I have in mind a very less ambitious project consisting of an ESP32 combined to a USB host shield that will allow checking the printer status for less than 10€, but I am still waiting for some parts to arrive from China and of course, it has nothing to do with Octoprint.
One of the most attractive features of Octoprint is the possibility to connect a webcam to the system so that you can see what’s really happening to your printed piece.
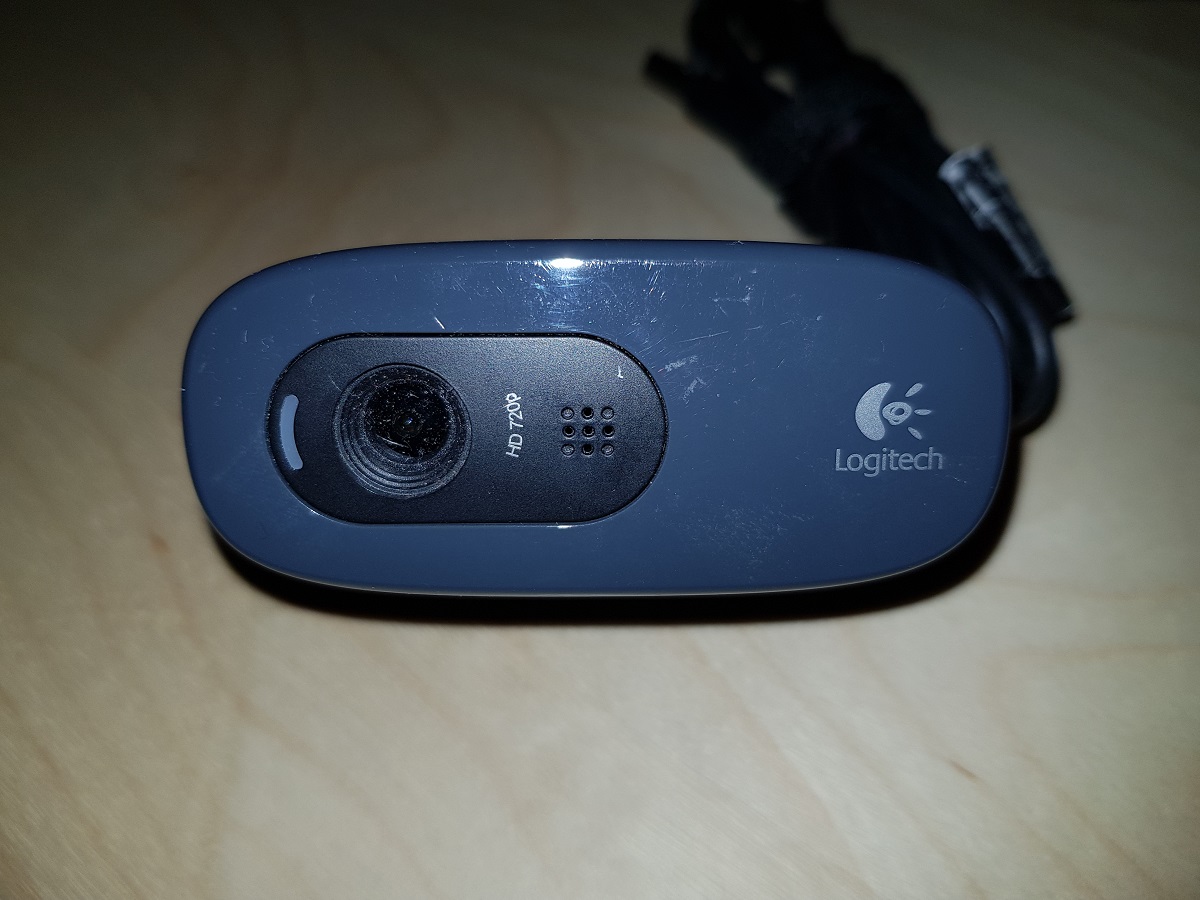
I had a Logitech C270 forgotten in a drawer, so I decided to use it for my printer. I tried to hang it from the upper crossbar, but the printing vibrations made it quite unstable. I also used a tripod, but it makes no sense to set up a tripod each time you print something.
Logitech C270 Webcam
Transforming a Logitech Webcam into an Ender 3 Webcam
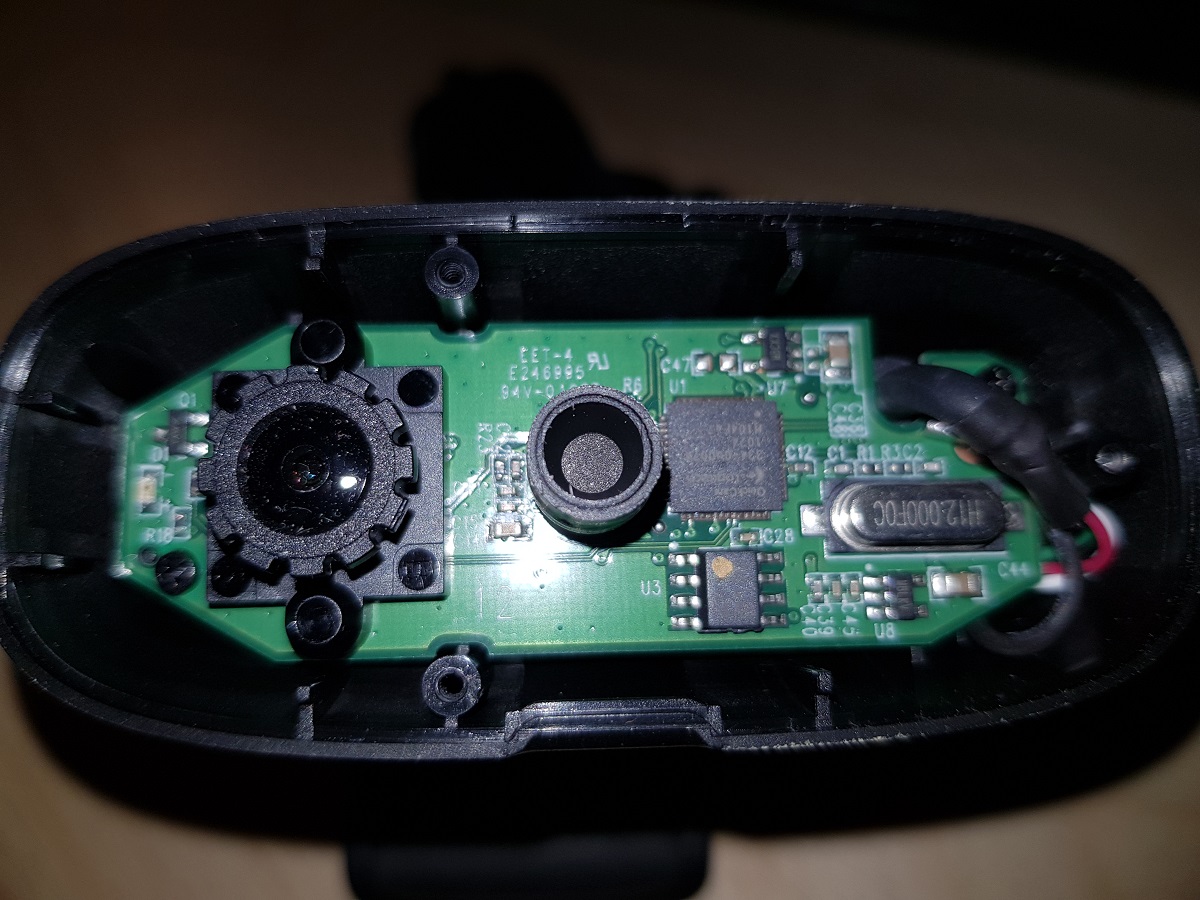
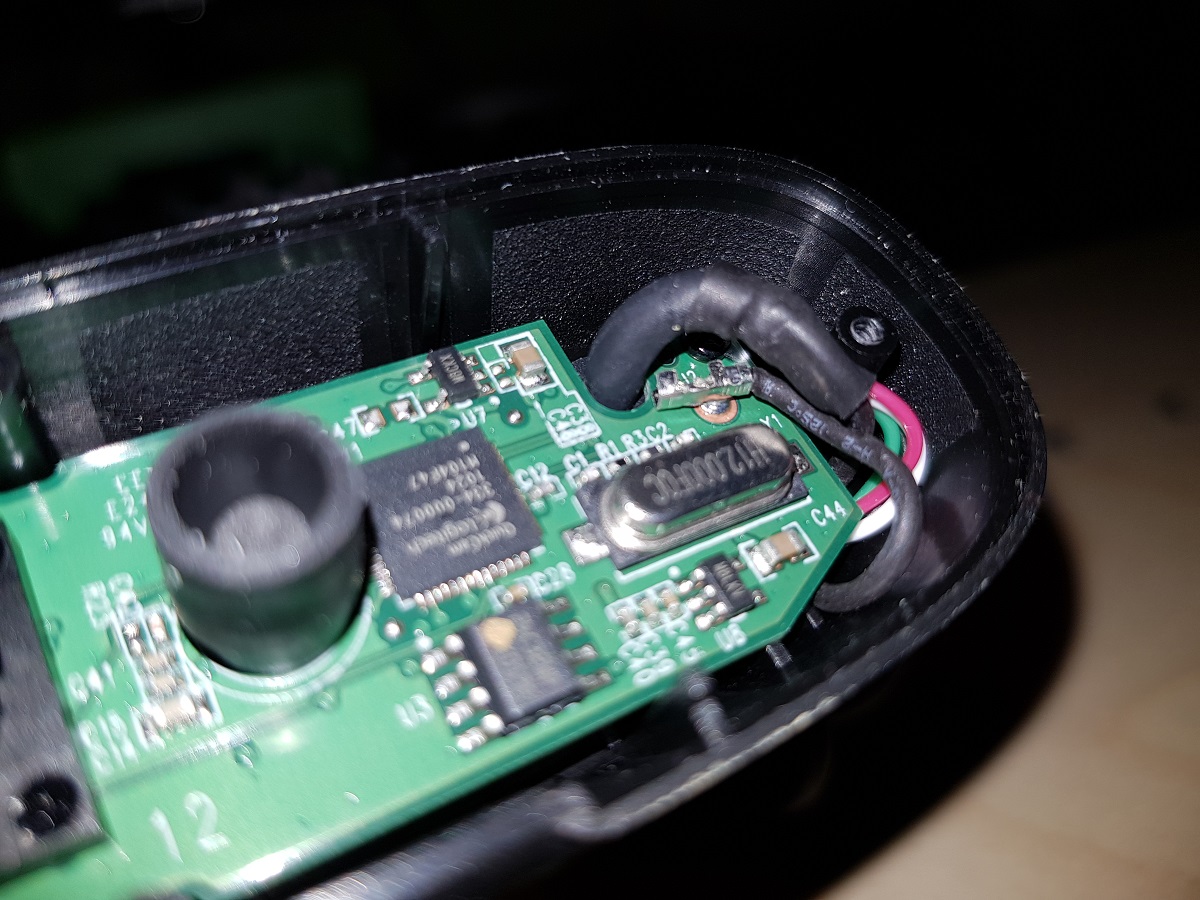
I opened the webcam to measure the internal pieces in order to design a new case for them. The cam consisted only of a tiny board with a focusable camera lens attached to it. This was a good surprise for me because, though the Logitech C270 is a quite good camera, the focus distance is fixed a bit further than the required for the printer and if I can adjust the focus distance it will be much better.
Inside Logitech C270 (note the adjustable lenses)
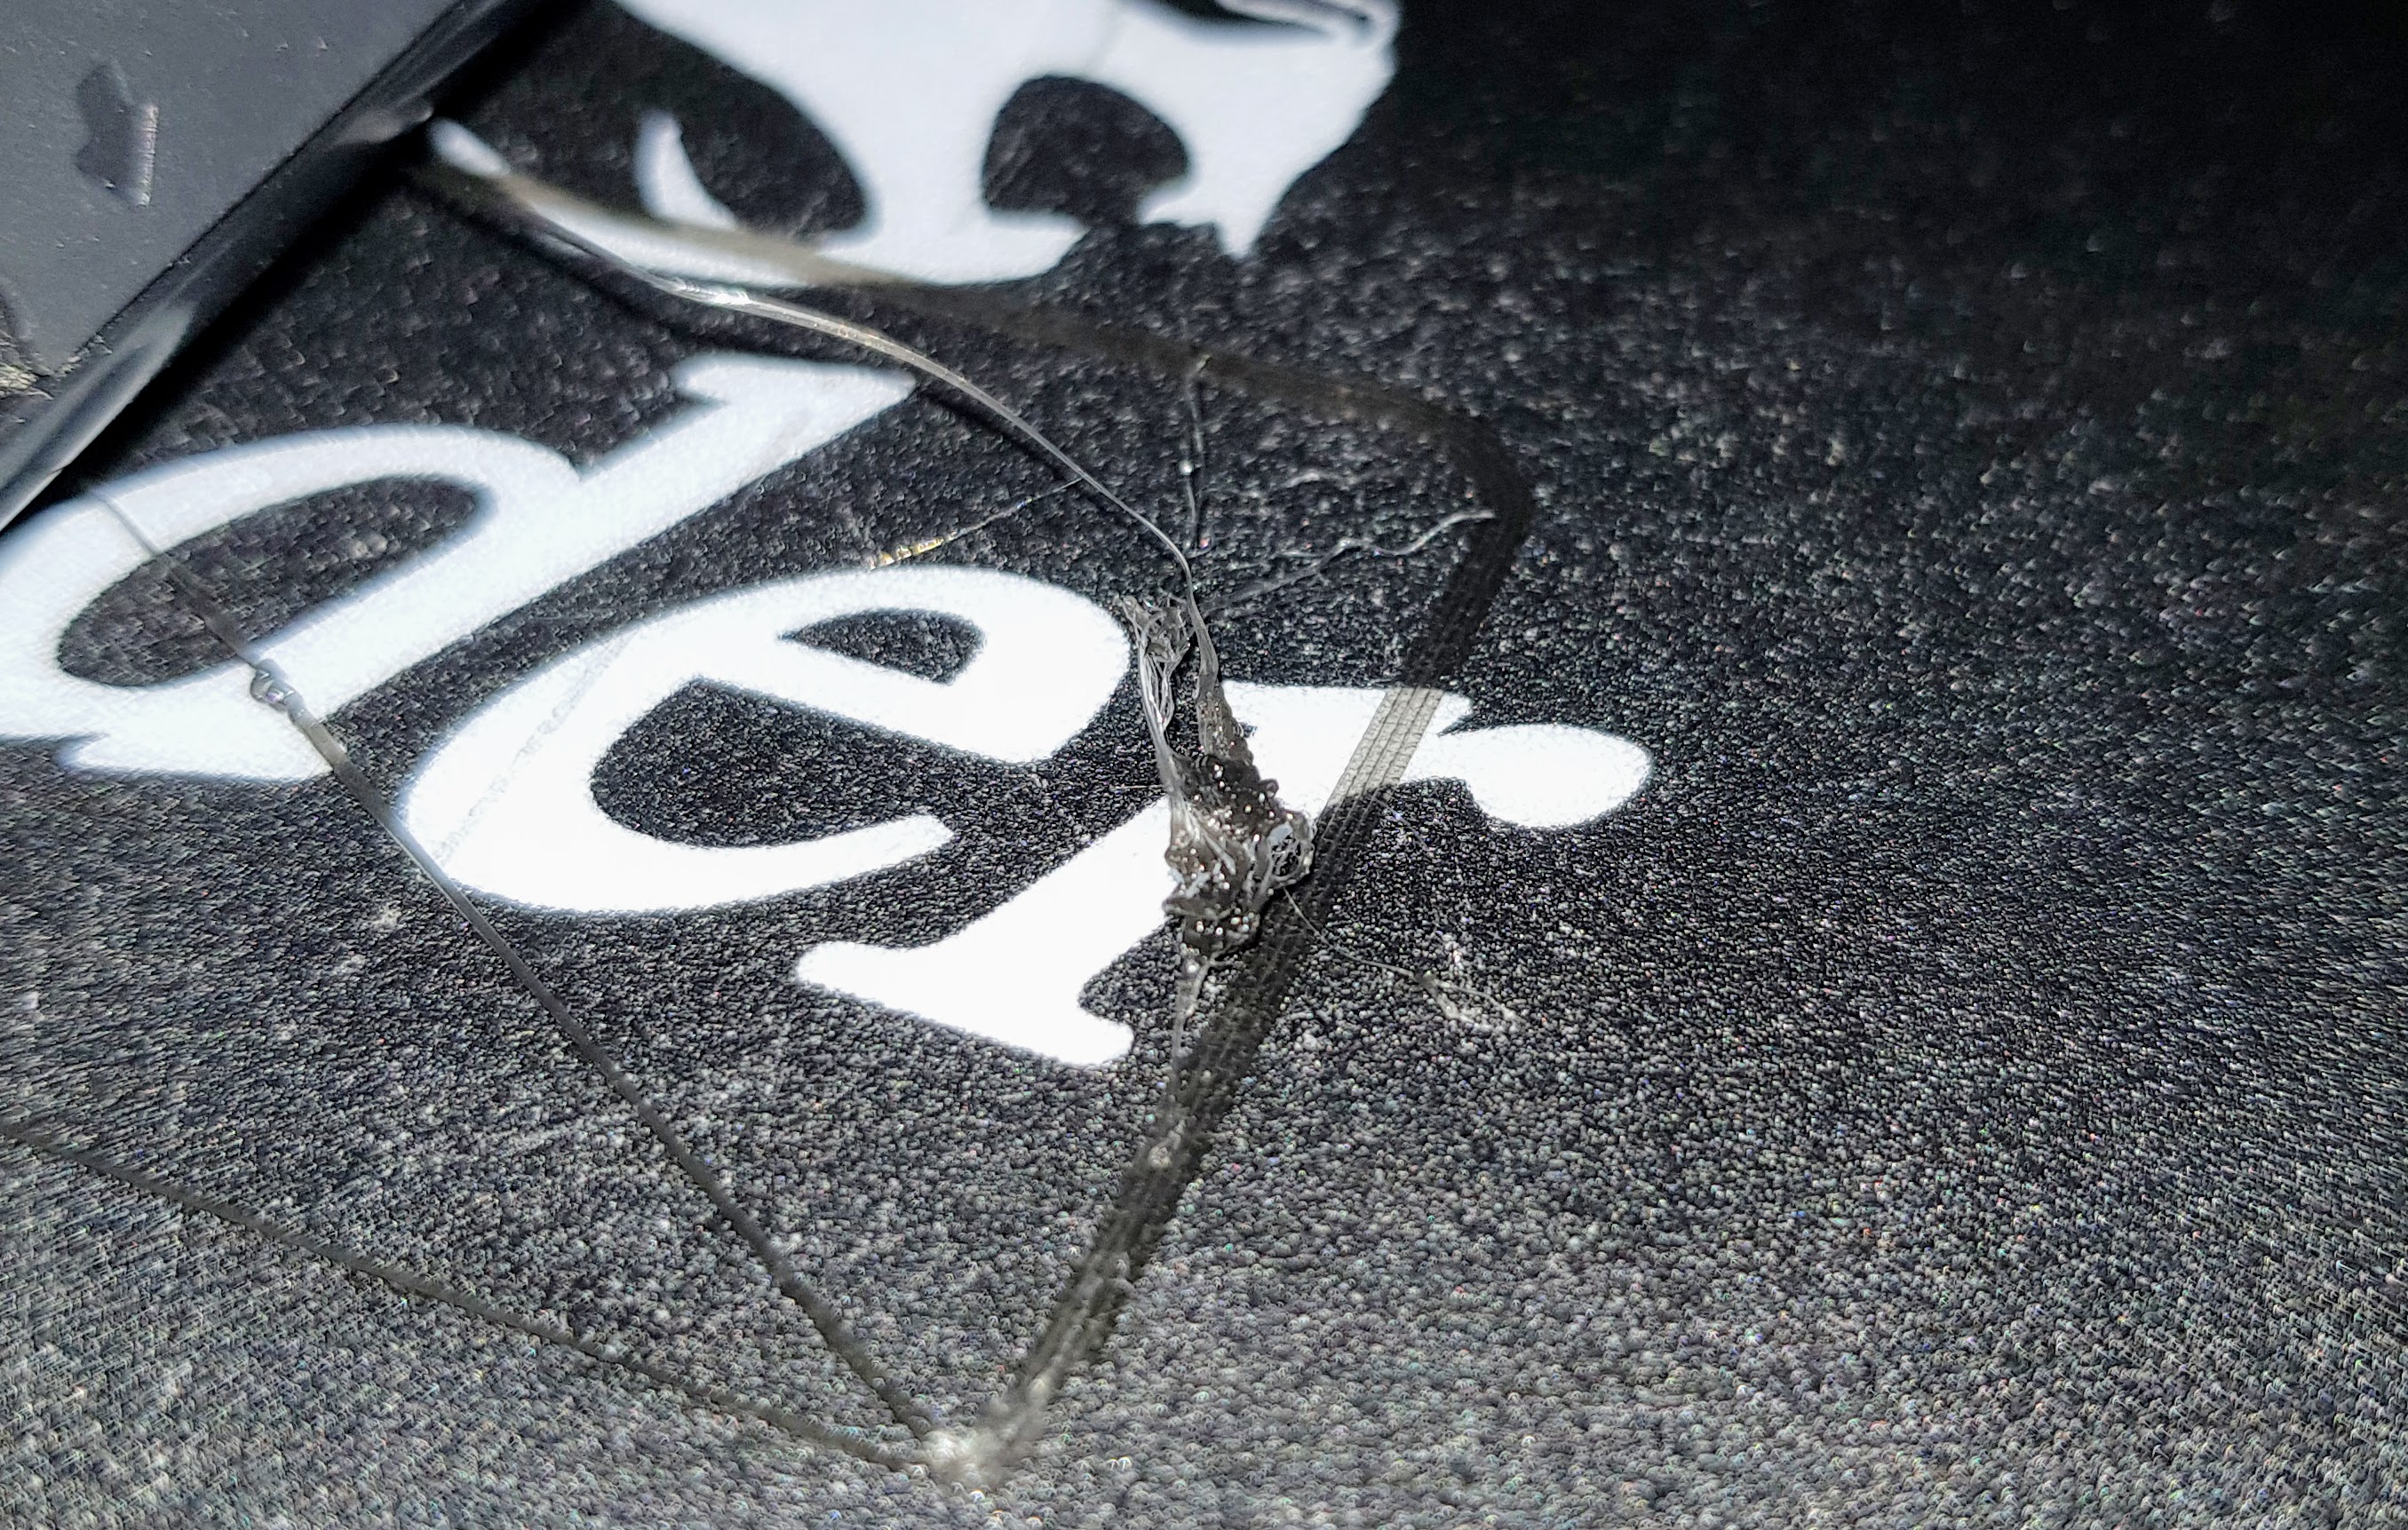
To avoid breaking the original case, I had to desolder a wire.
Logitech C270 Wire to be desoldered
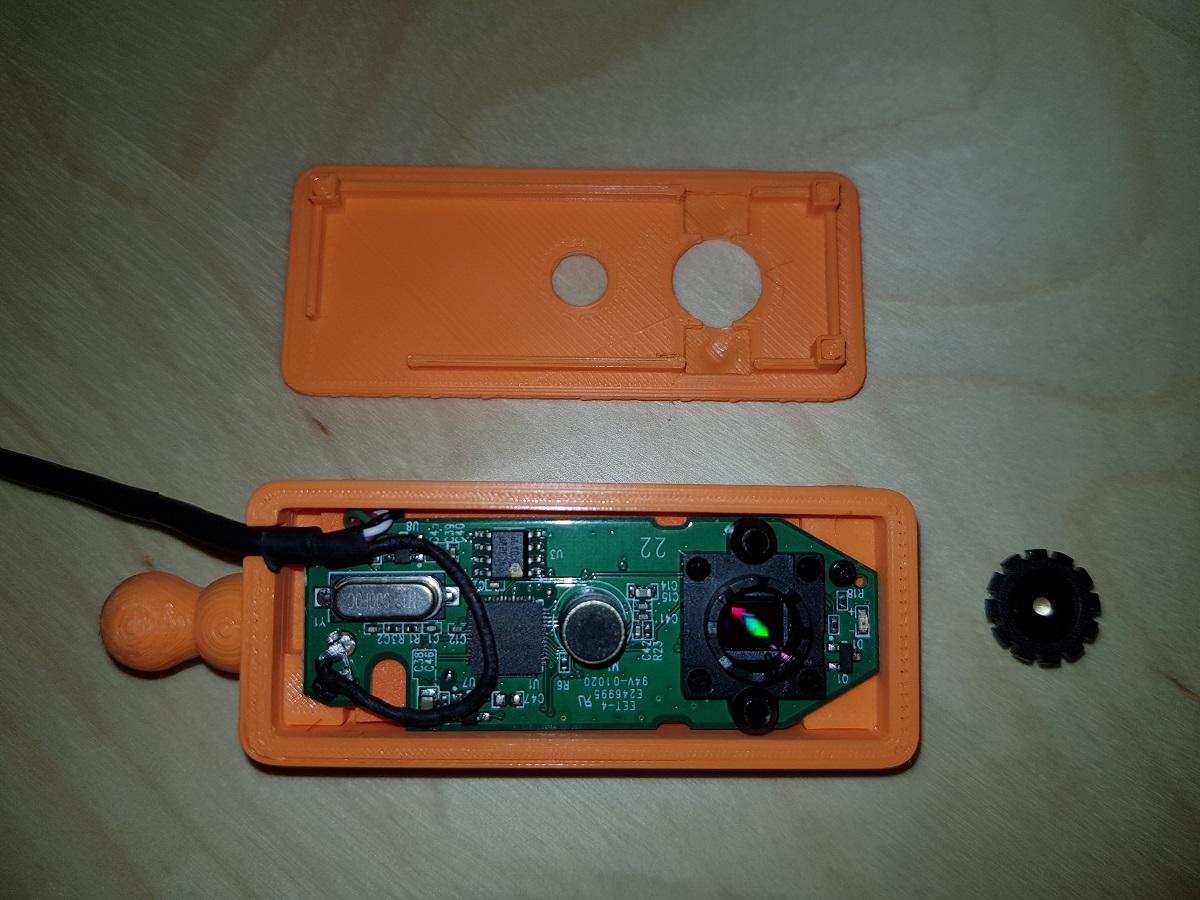
After measuring the board, I designed a box as thin as possible and mounted the board inside it.
Inside Ender 3 Webcam
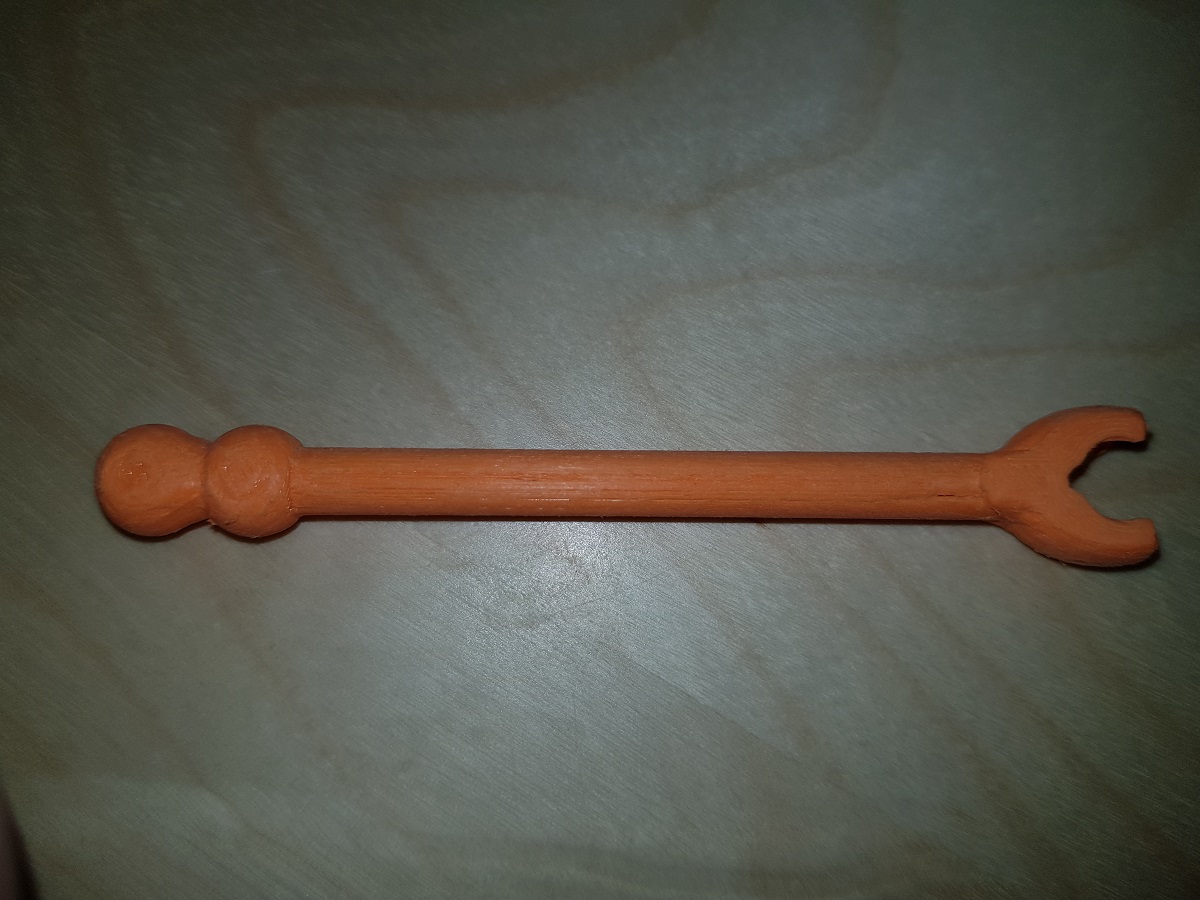
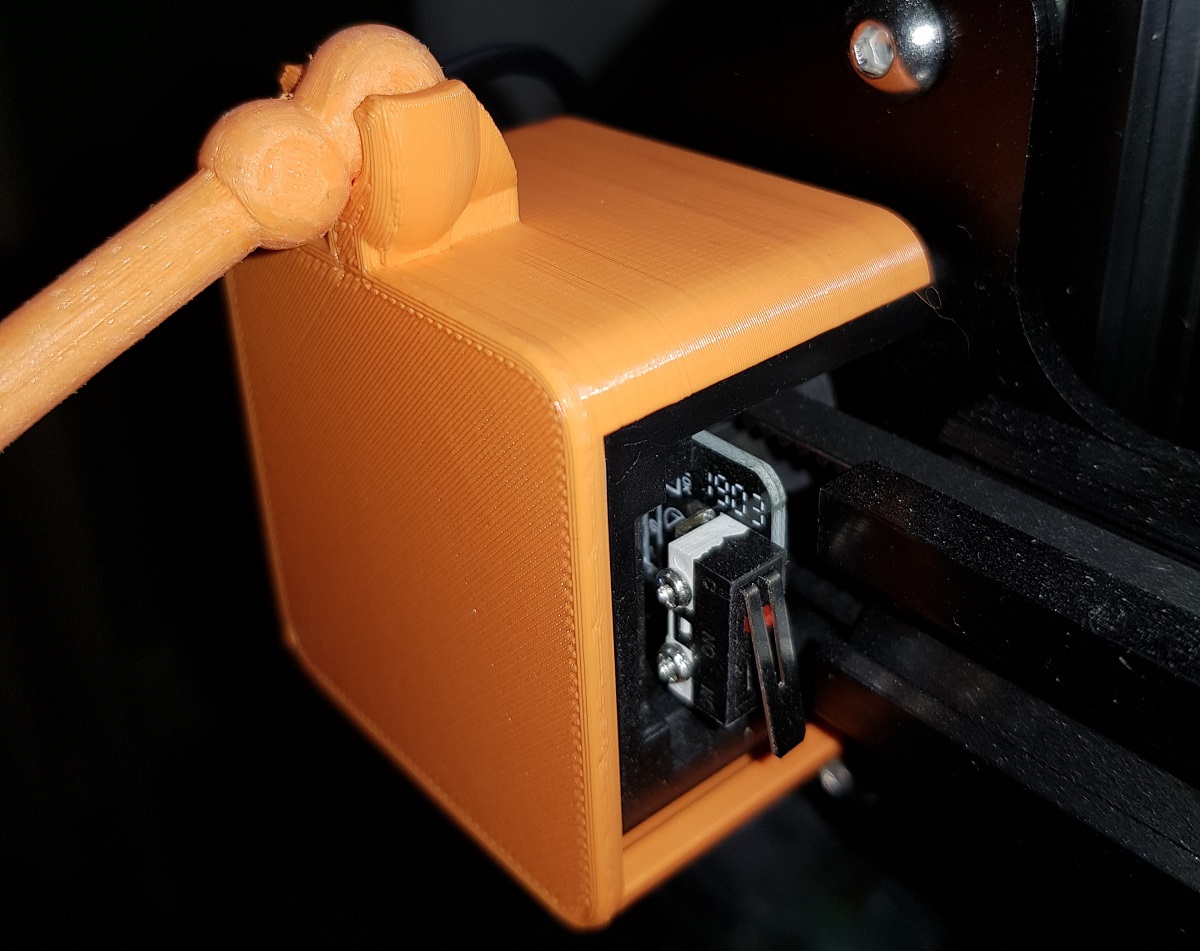
The complete system consists of a box for the cam, a bone, and a base:
Assembling webcam to the boneBoneEnder 3 Webcam baseEnder 3 WebcamEnder 3 Webcam
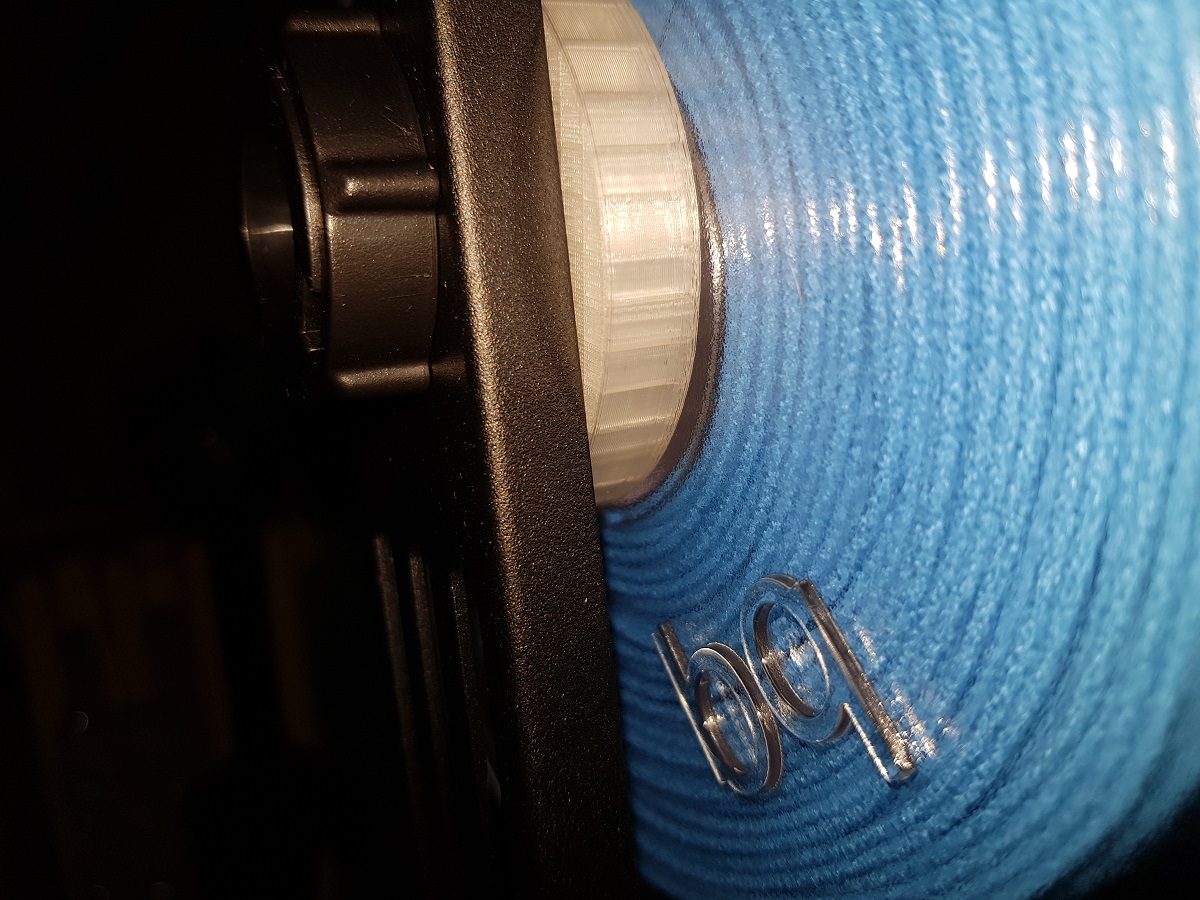
I’m quite happy with BQ Easy Go PLA filament. I have been using it during these last days and had no problem at all, but it is also true that I read some comments in Amazon before using it and there is an issue with this filament and Creality Ender 3 printers:
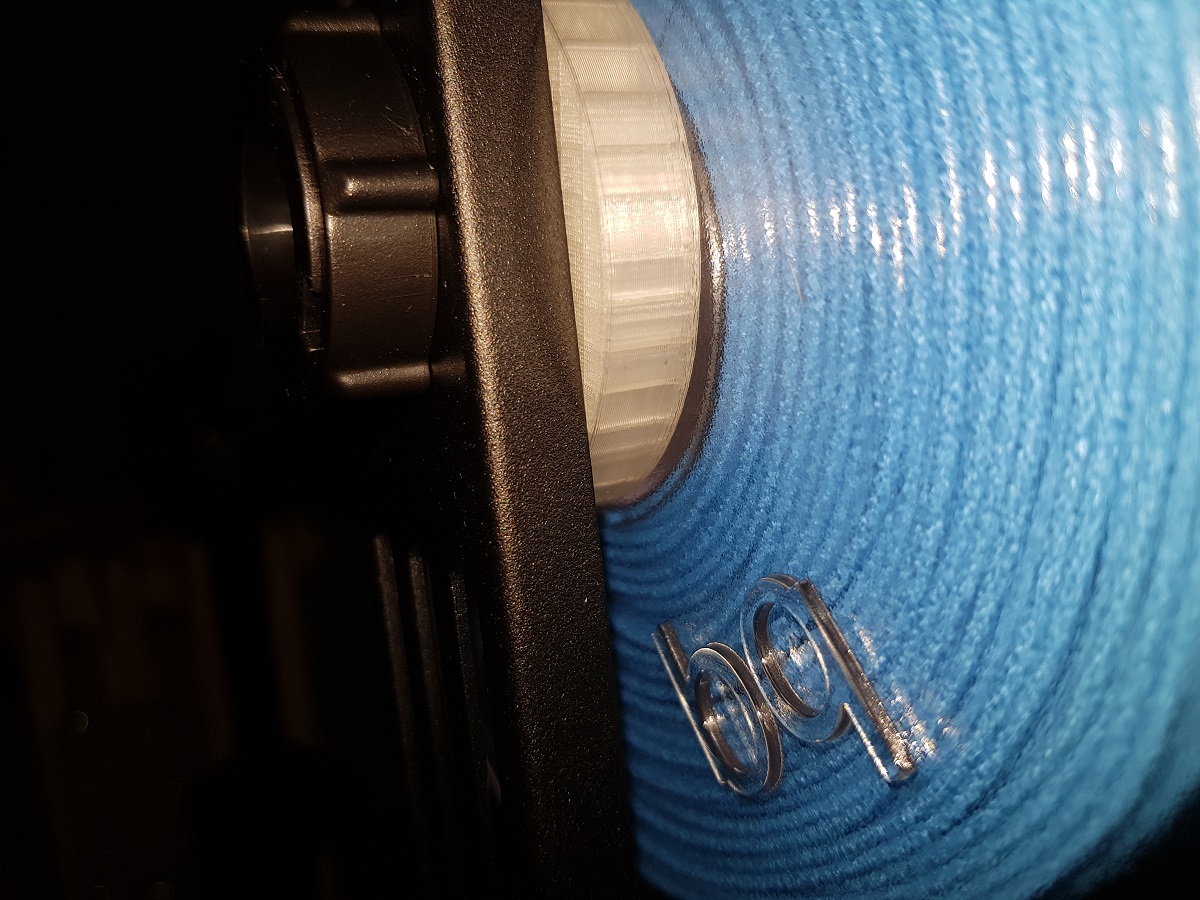
There is a big logo in one of the sides of the coil. It may occur that this logo gets stuck in the coil guide of the Ender 3.
BQ Logo in coil side
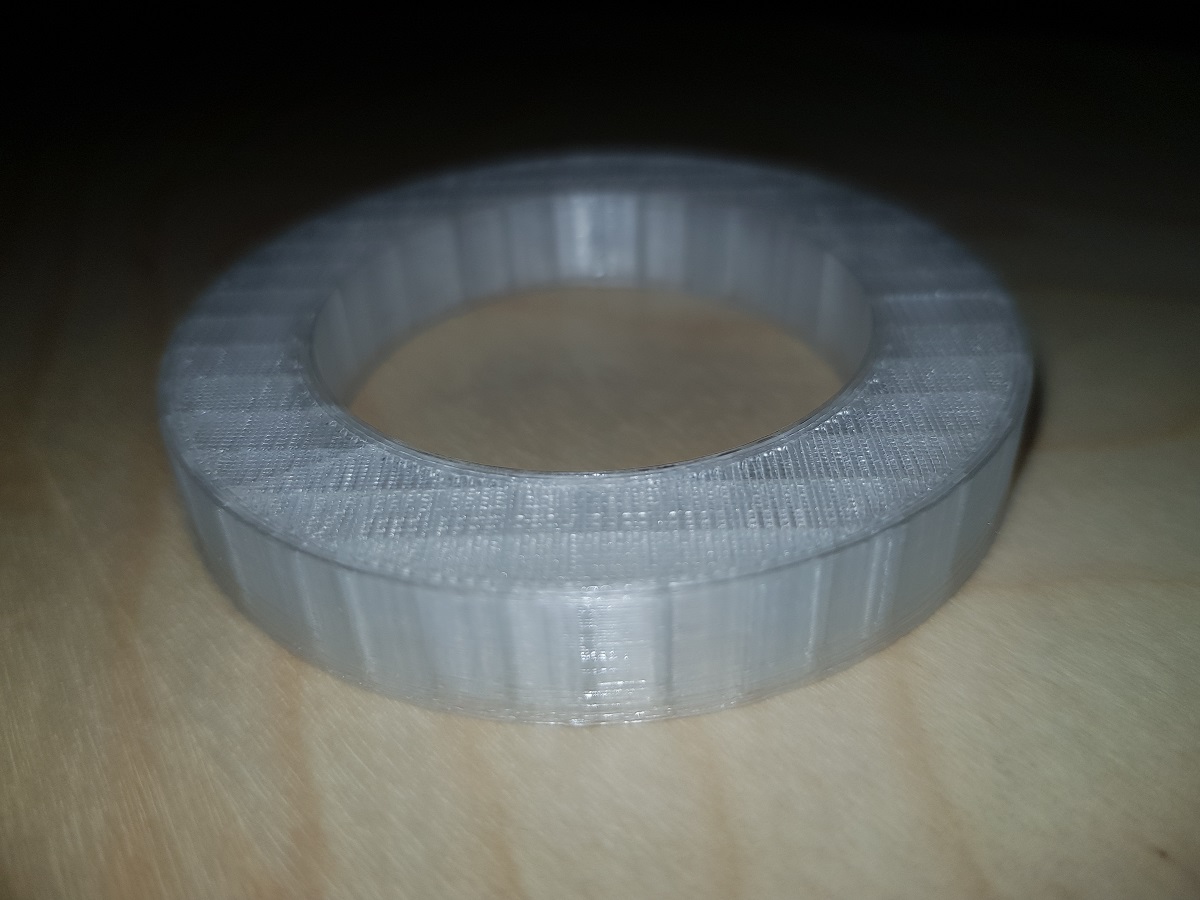
The easiest solution I found for this was printing a ring to prevent the coil from getting too close to the printer guide.
If you own a Creality Ender 3 and want to deploy Marlin on it you should first ask yourself why.
Why
When searching Google for that topic, a bunch of results and video tutorials appear in front of you talking about the ‘benefits’ of that ‘improvement’. Well, if you read the details you will find comments like Ender 3 is a great 3D printer but comes with some defects and the new version of Marlin is the solution to that. But seriously, what are those defects?
I bought the printer 3 weeks ago and I have to say that the results are impressive. Ok, it is my first 3D printer, but before acquiring it I was reading a lot about the subject and the most common advice in every web I visited was: don’t get frustrated about the results of 3D printing? You will get a lot of bad results and that’s normal. I’ve got too few bad results with my Ender 3… until yesterday.
Is it worthy?
After reading and watching some tutorials I decided to install a bootloader on my printer to upload the latest Marlin version to it. Why? I still don’t know.
Burning the Bootloader
It wasn’t easy. I look for some old Arduinos I knew I had and found a Duemilanove and a Mega. The board used by Creality in it’s Ender 3 is compatible with ATMega Sanguino boards, so all you have to do is burn the bootloader on the board and then use Arduino IDE to upload the sketch with the latest Marlin version.
Burning the bootloader has to be done with an ISP programmer or using an Arduino as ISP. The procedure is quite simple:
Open the board box of your Ender 3
Locate the ICSP connector
Use five Dupont Female to Female wires to connect:
GNDto GND
5V (VCC) to 5V(VCC)
SCKto SCK
MOSIto MOSI
MISOto MISO
Use one Dupont Female to Male wire to connect:
RESETto IO10 of your Arduino board
Upload Arduino ISP sketch to your Arduino (in examples)
Change board to Sanguinoand Programmer to Arduino as ISP
Burn Bootloader
I can’t remember how many times I tried. Changing port, reviewing wires many times, switching on / off, using Duemilanove and Mega… and nothing worked. I got the same error always and it seemed there was a problem getting synchronism in Avrdude tool.
Arduino’s ISP issue and the capacitor workaround
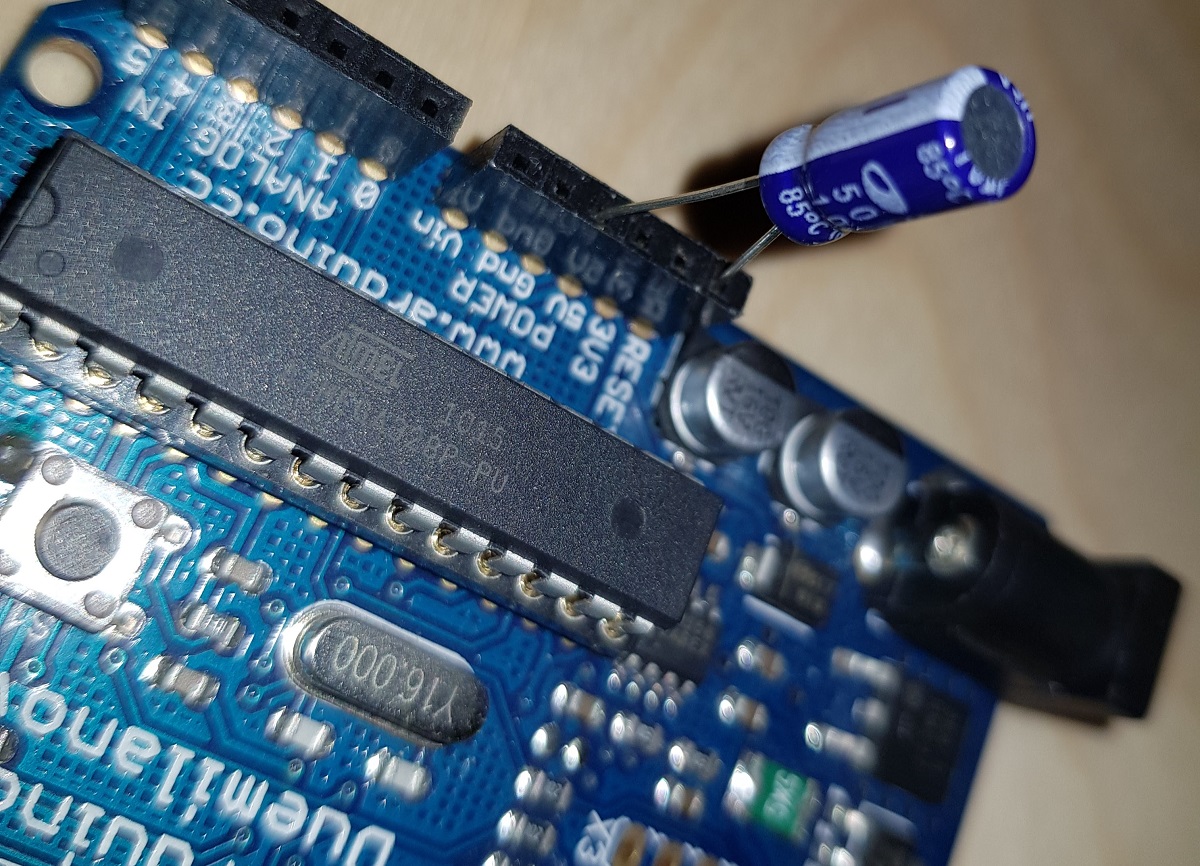
Then I remembered I had this problem years ago when playing with Arduinos. First Arduino models had problems with reset while negotiating ISP programming and the workaround is using a 10μF electrolytic capacitor between reset and GND pins.
The capacitor between RST and GND
Remember electrolytic capacitors have polarity and you shouldn’t reverse them:
After plugin the capacitor I was able to burn the uploader.
Uploading Marlin latest and ‘improved’ version
As expected, the printer was now reset. No printing program inside it and a blank LCD screen showing nothing.
That is the moment to upload Marlin latest software using Arduino IDE.
My intention is not telling you all the steps to do this, as the Internet is full of videos and tutorials (and remember, I don’t recommend doing it), but telling you what happened to my printer after doing that.
I uploaded the latest Marlin software with some miracle customizations performed in the parameters code by an expert guy. The result? After leveling the bed I tried with a small box and…
Filament not sticking to build plate
That was the first time in three weeks. Before that, the adhesion was very good. I tried some more times, I calibrated and leveled the bed and always the same result. I found that when the nozzle never got enough close to the plate. Maybe the miraculous customizations?.
I decided then to go back to the Creality version, which is a previous Marlin version adapted for Ender 3.
Creality Ender 3: Going back to manufacturer version
The good news is that we can now upload code to our printer because we have deployed a bootloader on it.
All we have to do is to find the manufacturer’s original code.
Locate the Marlin folder inside the folders created by the Unrar tool.
Copy the Marlin folder to a better location and edit the Configuration.h file.
Change the language for display. Locate the line (line #1188 in my version)
#define LCD_LANGUAGE cn
and replace cn with your language code (en, de, es, it, fr, …)
Compile and upload to the printer port detected when plugged in.
Remember you have to set these options in Tools menu:
Board: Sanguino
Processor: ATmega1284 or ATmega1284P (16MHz)
Port: The one detected by your machine.
Programmer: AVRISP mkll
Conclusion
I think it isn’t worthy of it deploying the latest Marlin version on your Ender 3, mainly because you are not going to get a lot of improvements.
In the other hand, it is very interesting having a bootloader installed and the capability of loading the code into the printer, but only if you need to customize the code.
This website uses cookies to improve your experience. We'll assume you're ok with this, but you can opt-out if you wish.AcceptReject
Privacy & Cookies Policy
Privacy Overview
This website uses cookies to improve your experience while you navigate through the website. Out of these, the cookies that are categorized as necessary are stored on your browser as they are essential for the working of basic functionalities of the website. We also use third-party cookies that help us analyze and understand how you use this website. These cookies will be stored in your browser only with your consent. You also have the option to opt-out of these cookies. But opting out of some of these cookies may affect your browsing experience.
Necessary cookies are absolutely essential for the website to function properly. This category only includes cookies that ensures basic functionalities and security features of the website. These cookies do not store any personal information.
Any cookies that may not be particularly necessary for the website to function and is used specifically to collect user personal data via analytics, ads, other embedded contents are termed as non-necessary cookies. It is mandatory to procure user consent prior to running these cookies on your website.